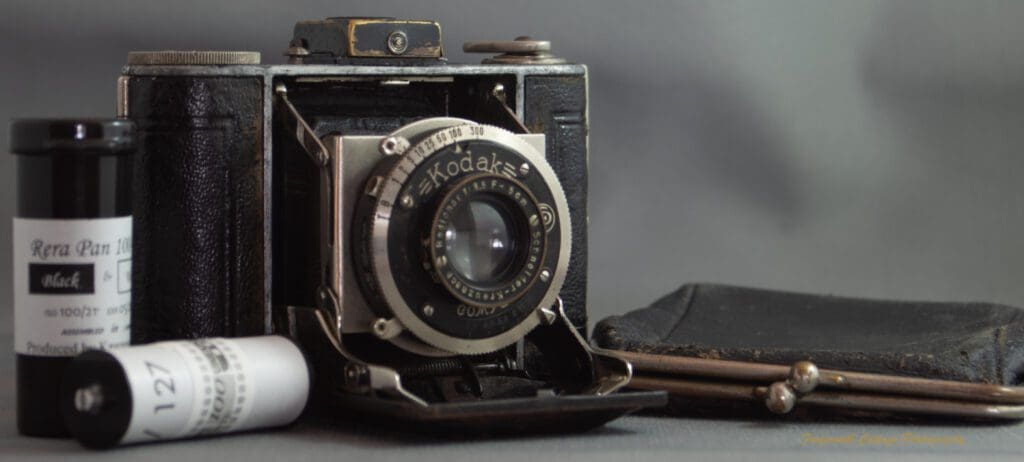
The Vollenda was a line of cameras made by Nagel, and later Kodak AG, launched in 1929. The Vollenda 48 is a very compact folding camera making 16 exposures on the 127 film. The model came with a variety of different lens and shutter combinations. My version of the Vollenda 48 has the Schneider-Kreuznach Radionar 5cm f:3.5 lens with with Compur 300 shutter. It has the Kodak badge. The camerea came to me with a small purse, most likely not original, but also very old.
The camera is quite simple to use, but the shutter release is fiddly due to the camera’s small size. I used a toothpick to trigger it more easily. The camera is opened by pressing a release button on the top plate of the camera, which opens the base plate and the lens flips out. Closing the camera requires pressing the clips on both sides of the metal strip in front of the lens, which triggers the base plate to fold up. Make sure the camera is set to infinity before trying to close it.
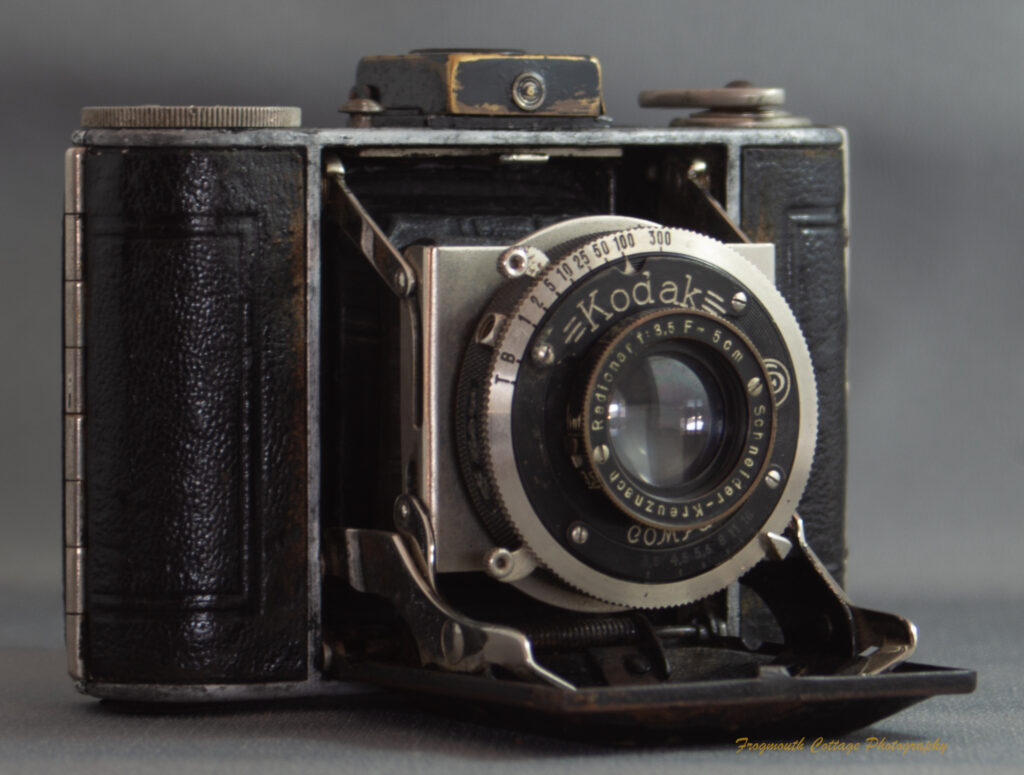
Shutter speeds are set on the top ring of the shutter: T, B, 1, 1/2, 1/5, 1/10, 1/25, 1/50, 1/100, 1/300. Intermediate speeds can be set between 1 and 1/100, but not between 1/100 and 1/300. “T” is for long-time exposures; open the shutter by pressing the shutter lever, close it by pressing a second time. “B” is for brief exposures; the shutter stays open as long as the shutter release is held down. This version of the camera also comes with a shutter release cable screw and tripod bush. A tripod is recommended for speeds slower than 1/25. The shutter is tensioned by pressing down the tension lever (top lever), the photo is then taken by pressing down the shutter release (bottom lever). A photo won’t be taken if the shutter tension lever has not been set first. Once tensioned, the shutter speed should not be changed from 1/300 to 1/100. Aperture is set along the bottom of the shutter ring: f3.5, 4.5, 5.6, 8, 11, 16.
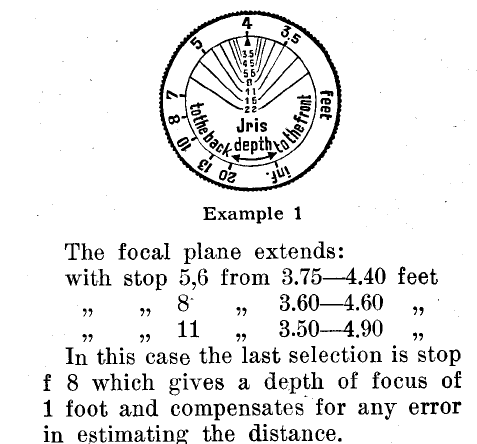
The viewfinder (called a “peep-sight finder”) is a flip-up optical design. Mine is cracked, but still useable, the main issue is the teeny tiny hole (less than 1cm x 0.5cm) to look through. Fousing is achieved by distance focusing, using the scale (in feet) on the inner ring of the shutter: 3.5, 4, 5, 7, 10, 20, infinity. There is a depth of field indicator on the top of the camera. This is not coupled to any of the camera mechanisms, it is a reference device. Turn the outer ring until the estimated distance aligns with the index pointer. Then read off the focal plane distances for each f-stop.
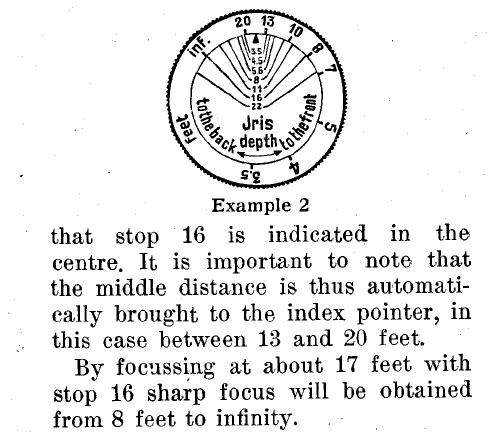
From the manual: In example 1 the estimated distance is 4 metres, the in focus distances for each aperture can be read off the scale. In example 2, the photographer wants a landscape to be sharp from 8 feet to infinity. Turn the ring until infinity and 8 feet are equal distance on the left and right sides. f16 will give the desired sharpness. Note: these examples are for a different version of the Vollenda 48, which has an aditional f22 aperture.
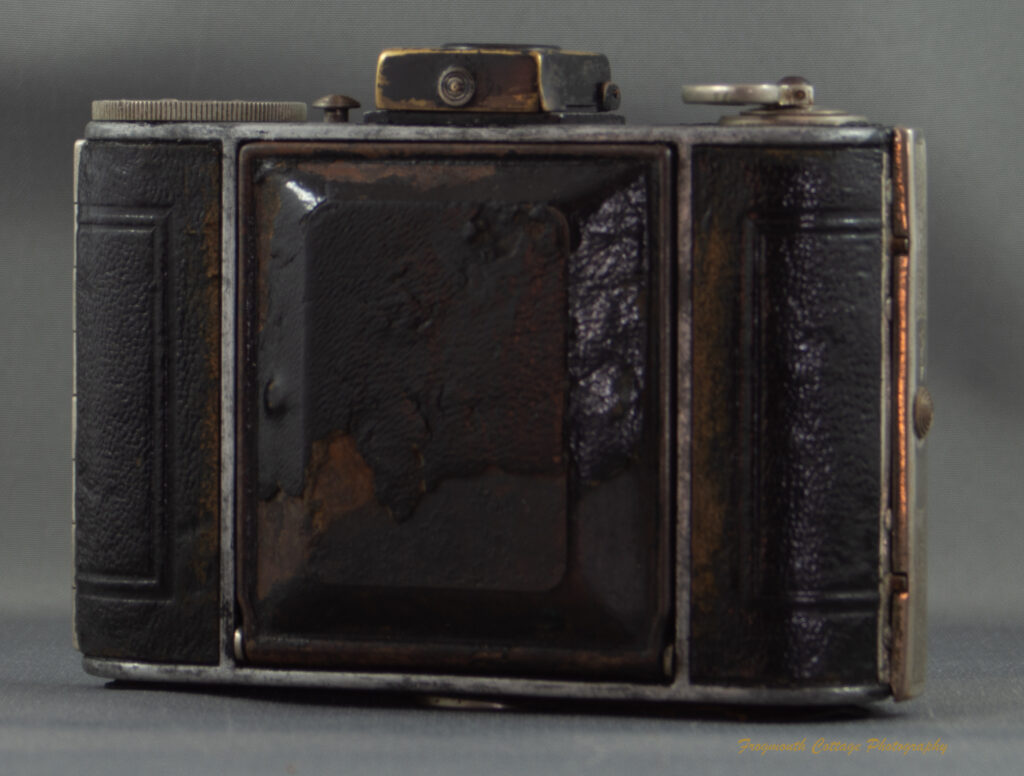
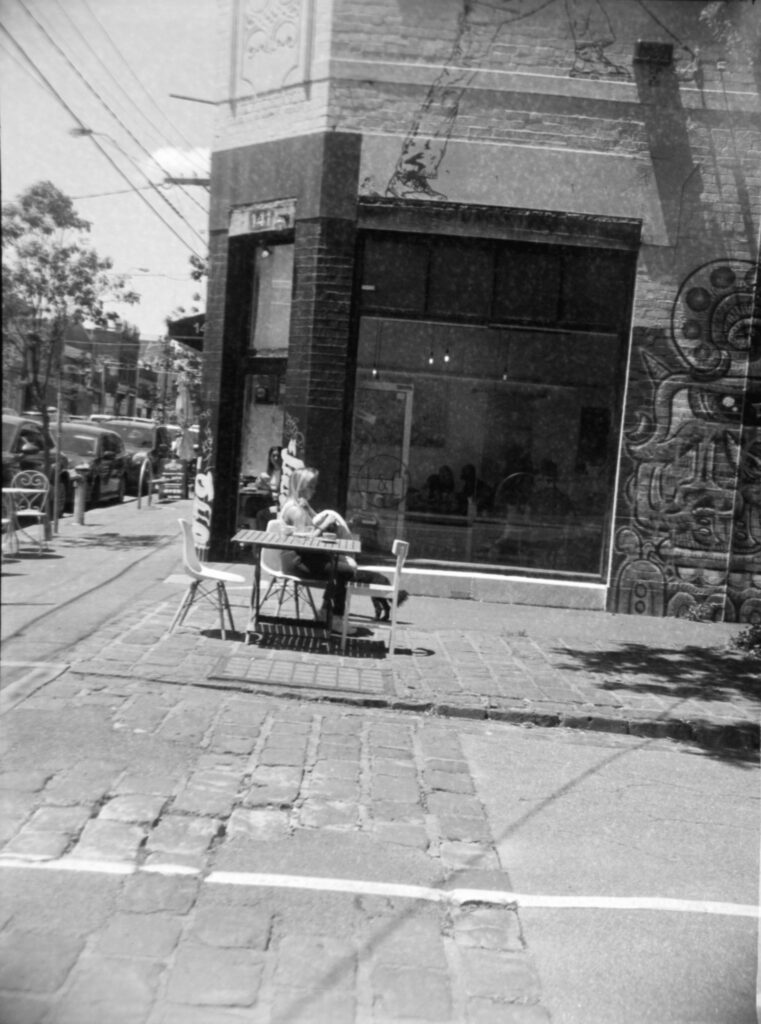
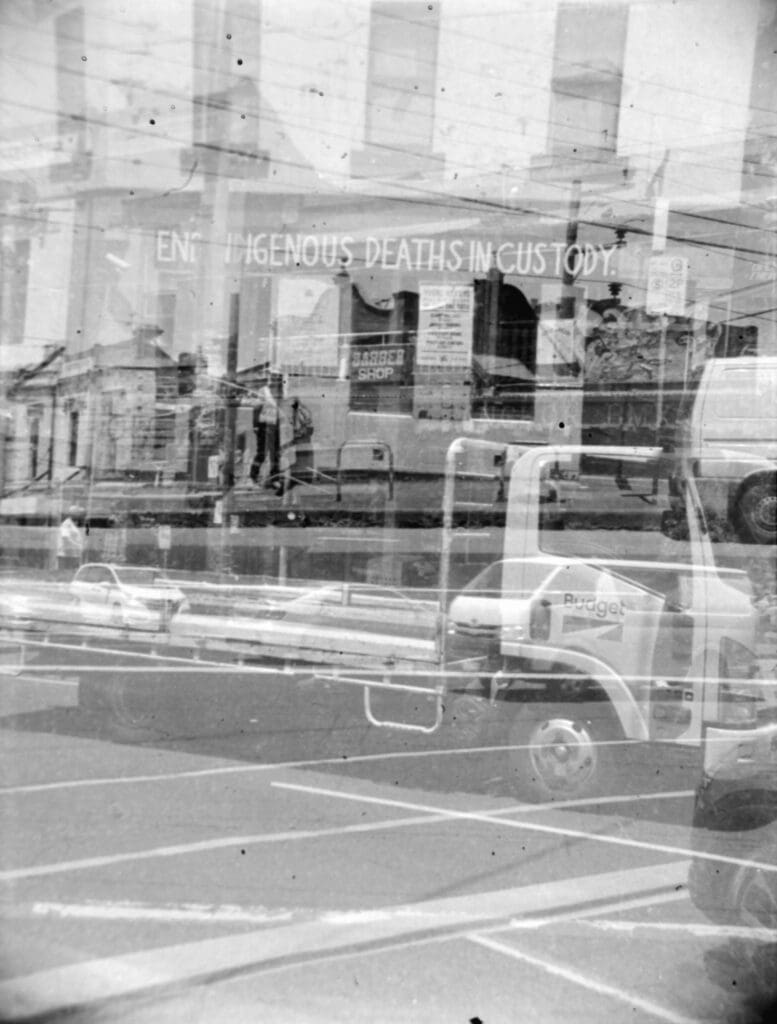
Loading the film is pretty straight forward and like any similiar roll film camera, with red viewing windows on the back. These don’t have covers, but I had no problem with light leaks. There is no mechanism to link winding on the film and making an exposure, so double (or triple in my case) exposures are possible. The backing paper for modern 127 film doesn’t have the correct exposure numbers for “half frame” cameras that shoot 3cm x 4cm images, as the numbers are set for 4cm x 6cm. When advancing the film, the first frame is shot with the number one in the red window on the right. After taking the first exposure, advance the film until the number 1 is in the red window on the left. After taking the second exposure, advance the film until the number 2 is in the window to the right. Repeat until you have taken 16 exposures, the final image will have the number 8 in the left red window.
According to the camera manual (link below) an exposure table was provided to help determine correct exposure. The following suggestions are provided to give good results:
In bright sunny weather: f8 or f11
- Outdoor portrait groups: 1/25
- Street scenes and landscapes: 1/50
- Quickly moving objects: 1/100
In dull weather:
- Landscapes: f8 or f11, 1/25
Indoor portraits:
- f5.6, 6-10 seconds, with tripod
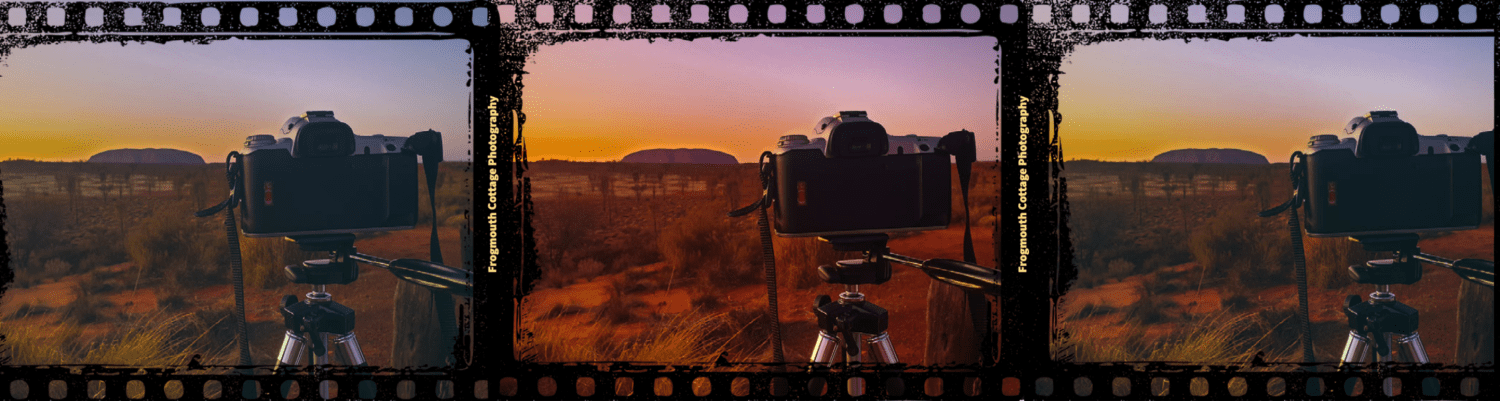
You can read more about my camera test here.
References: