It’s been a long time since blog posts – just over a year! Hopefully this is the first of more regular posts as I sort out my workflow (develop, scan and post).
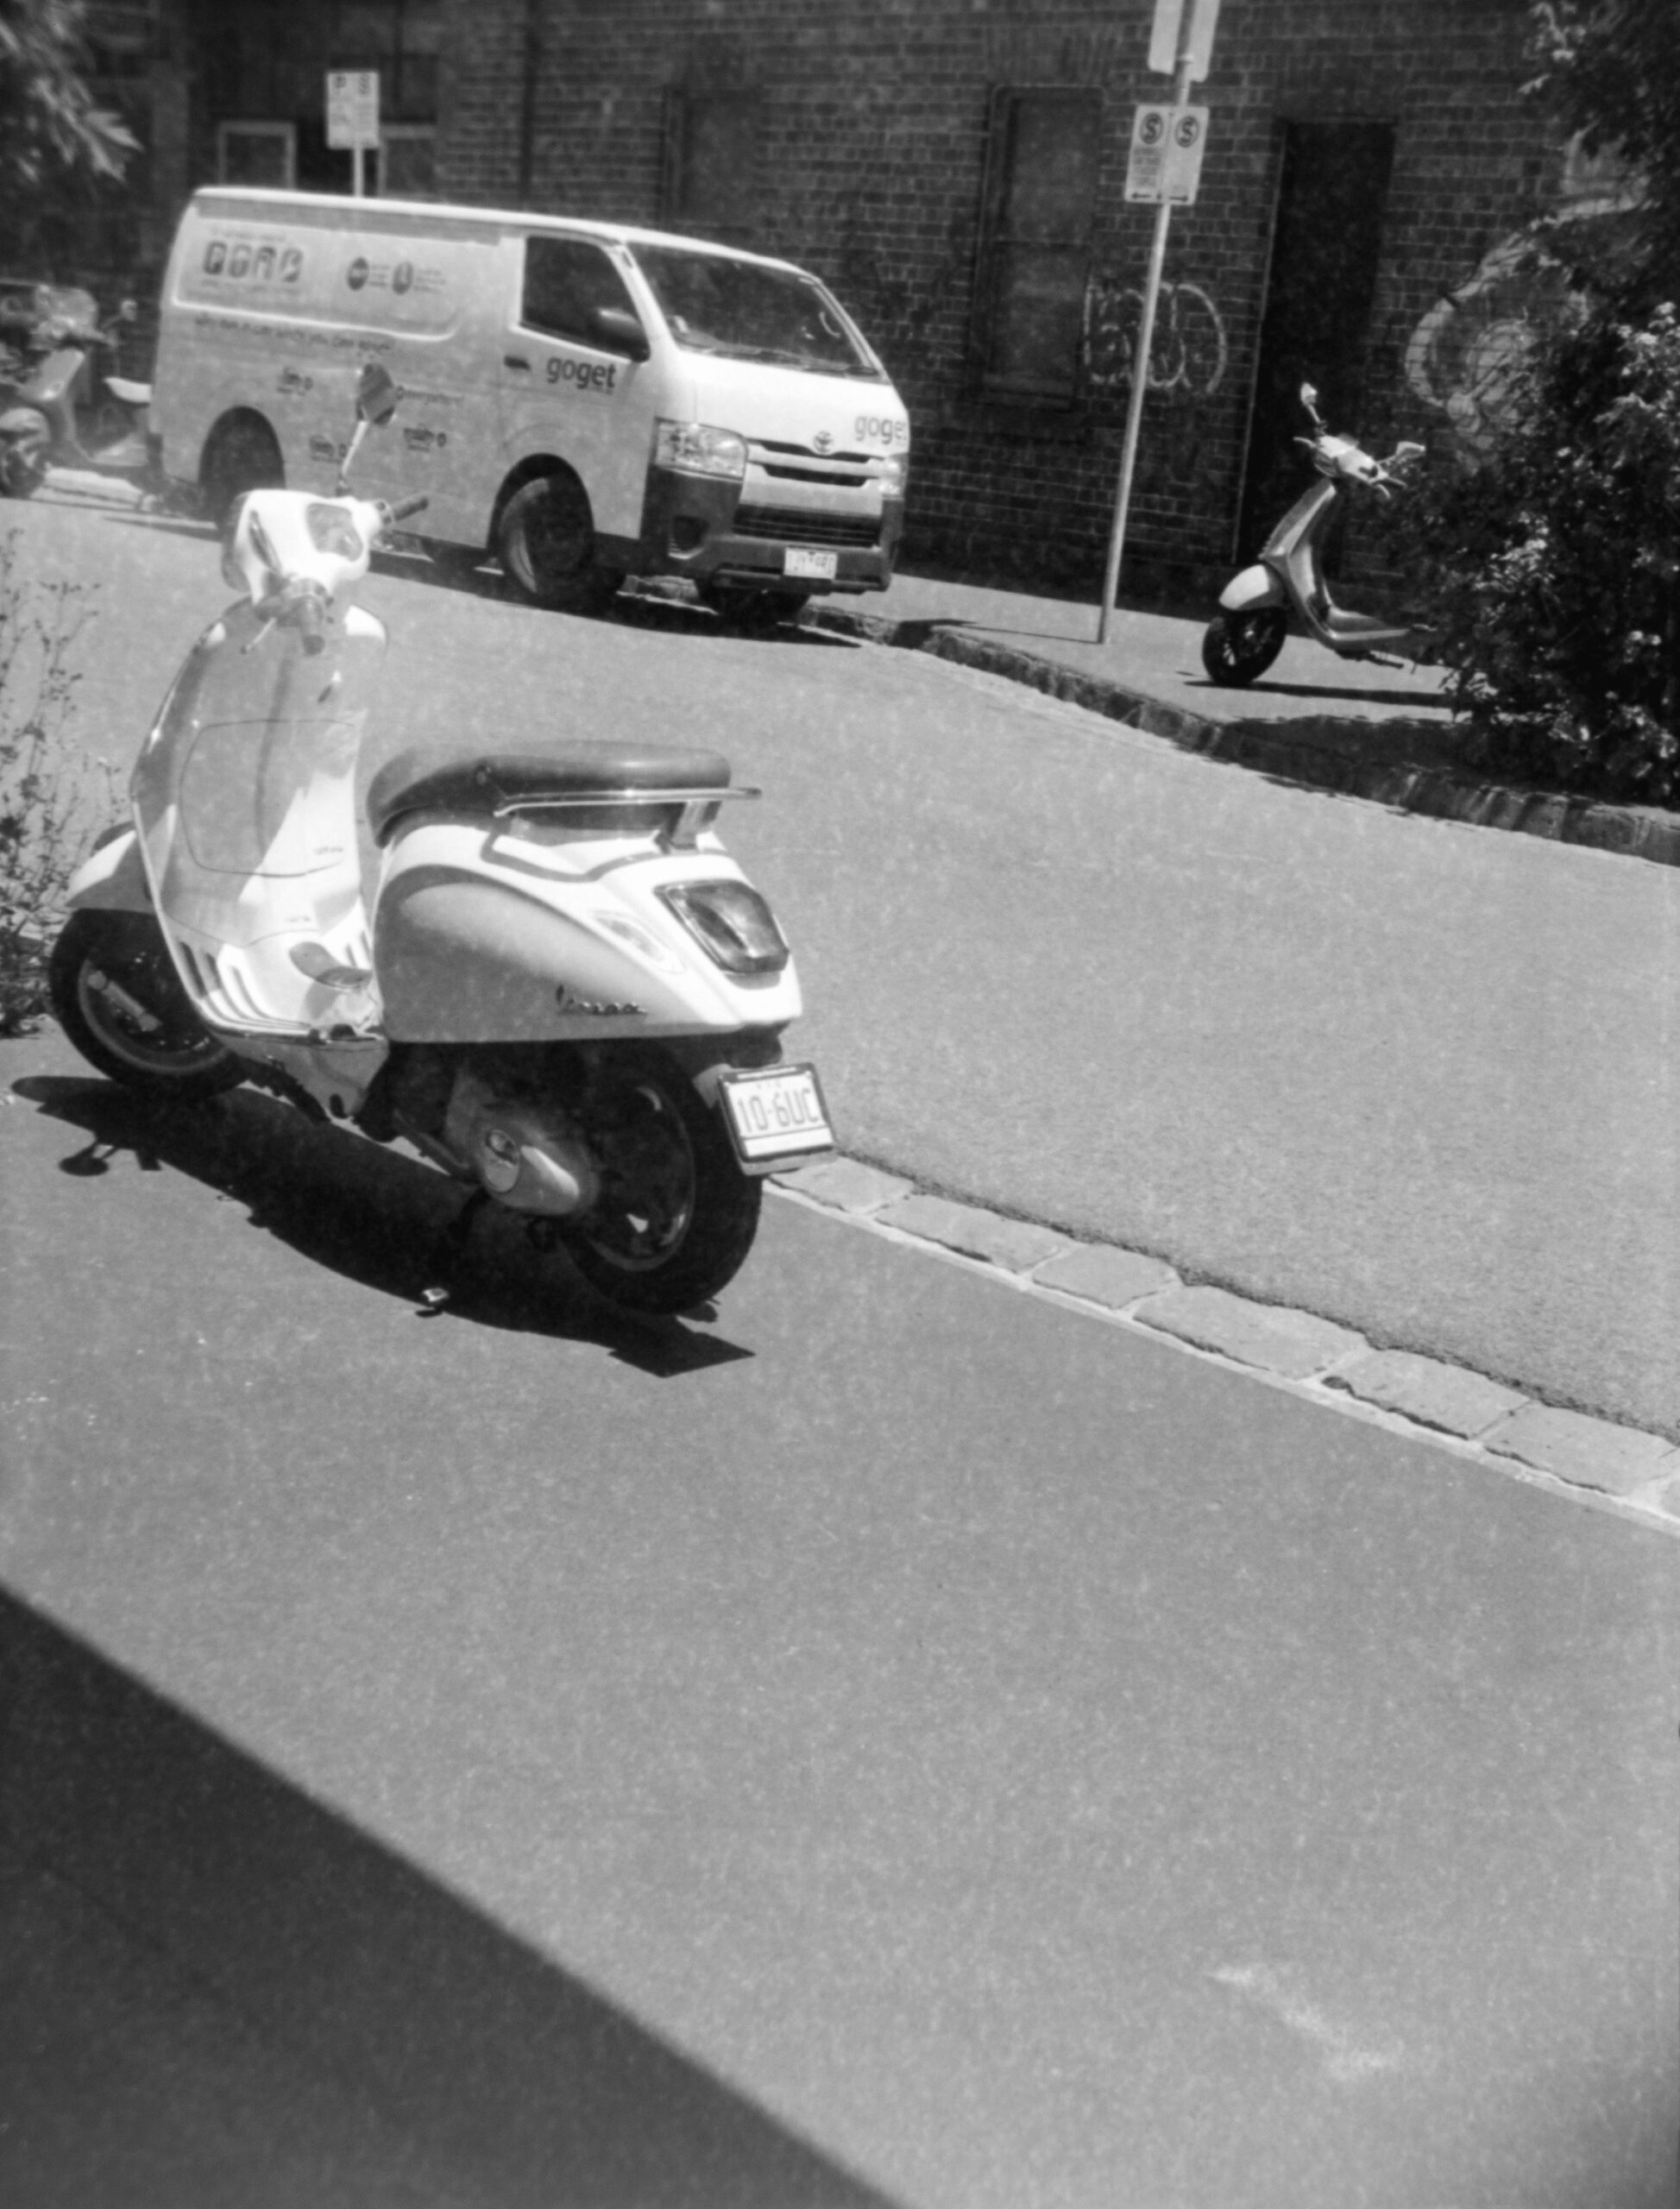
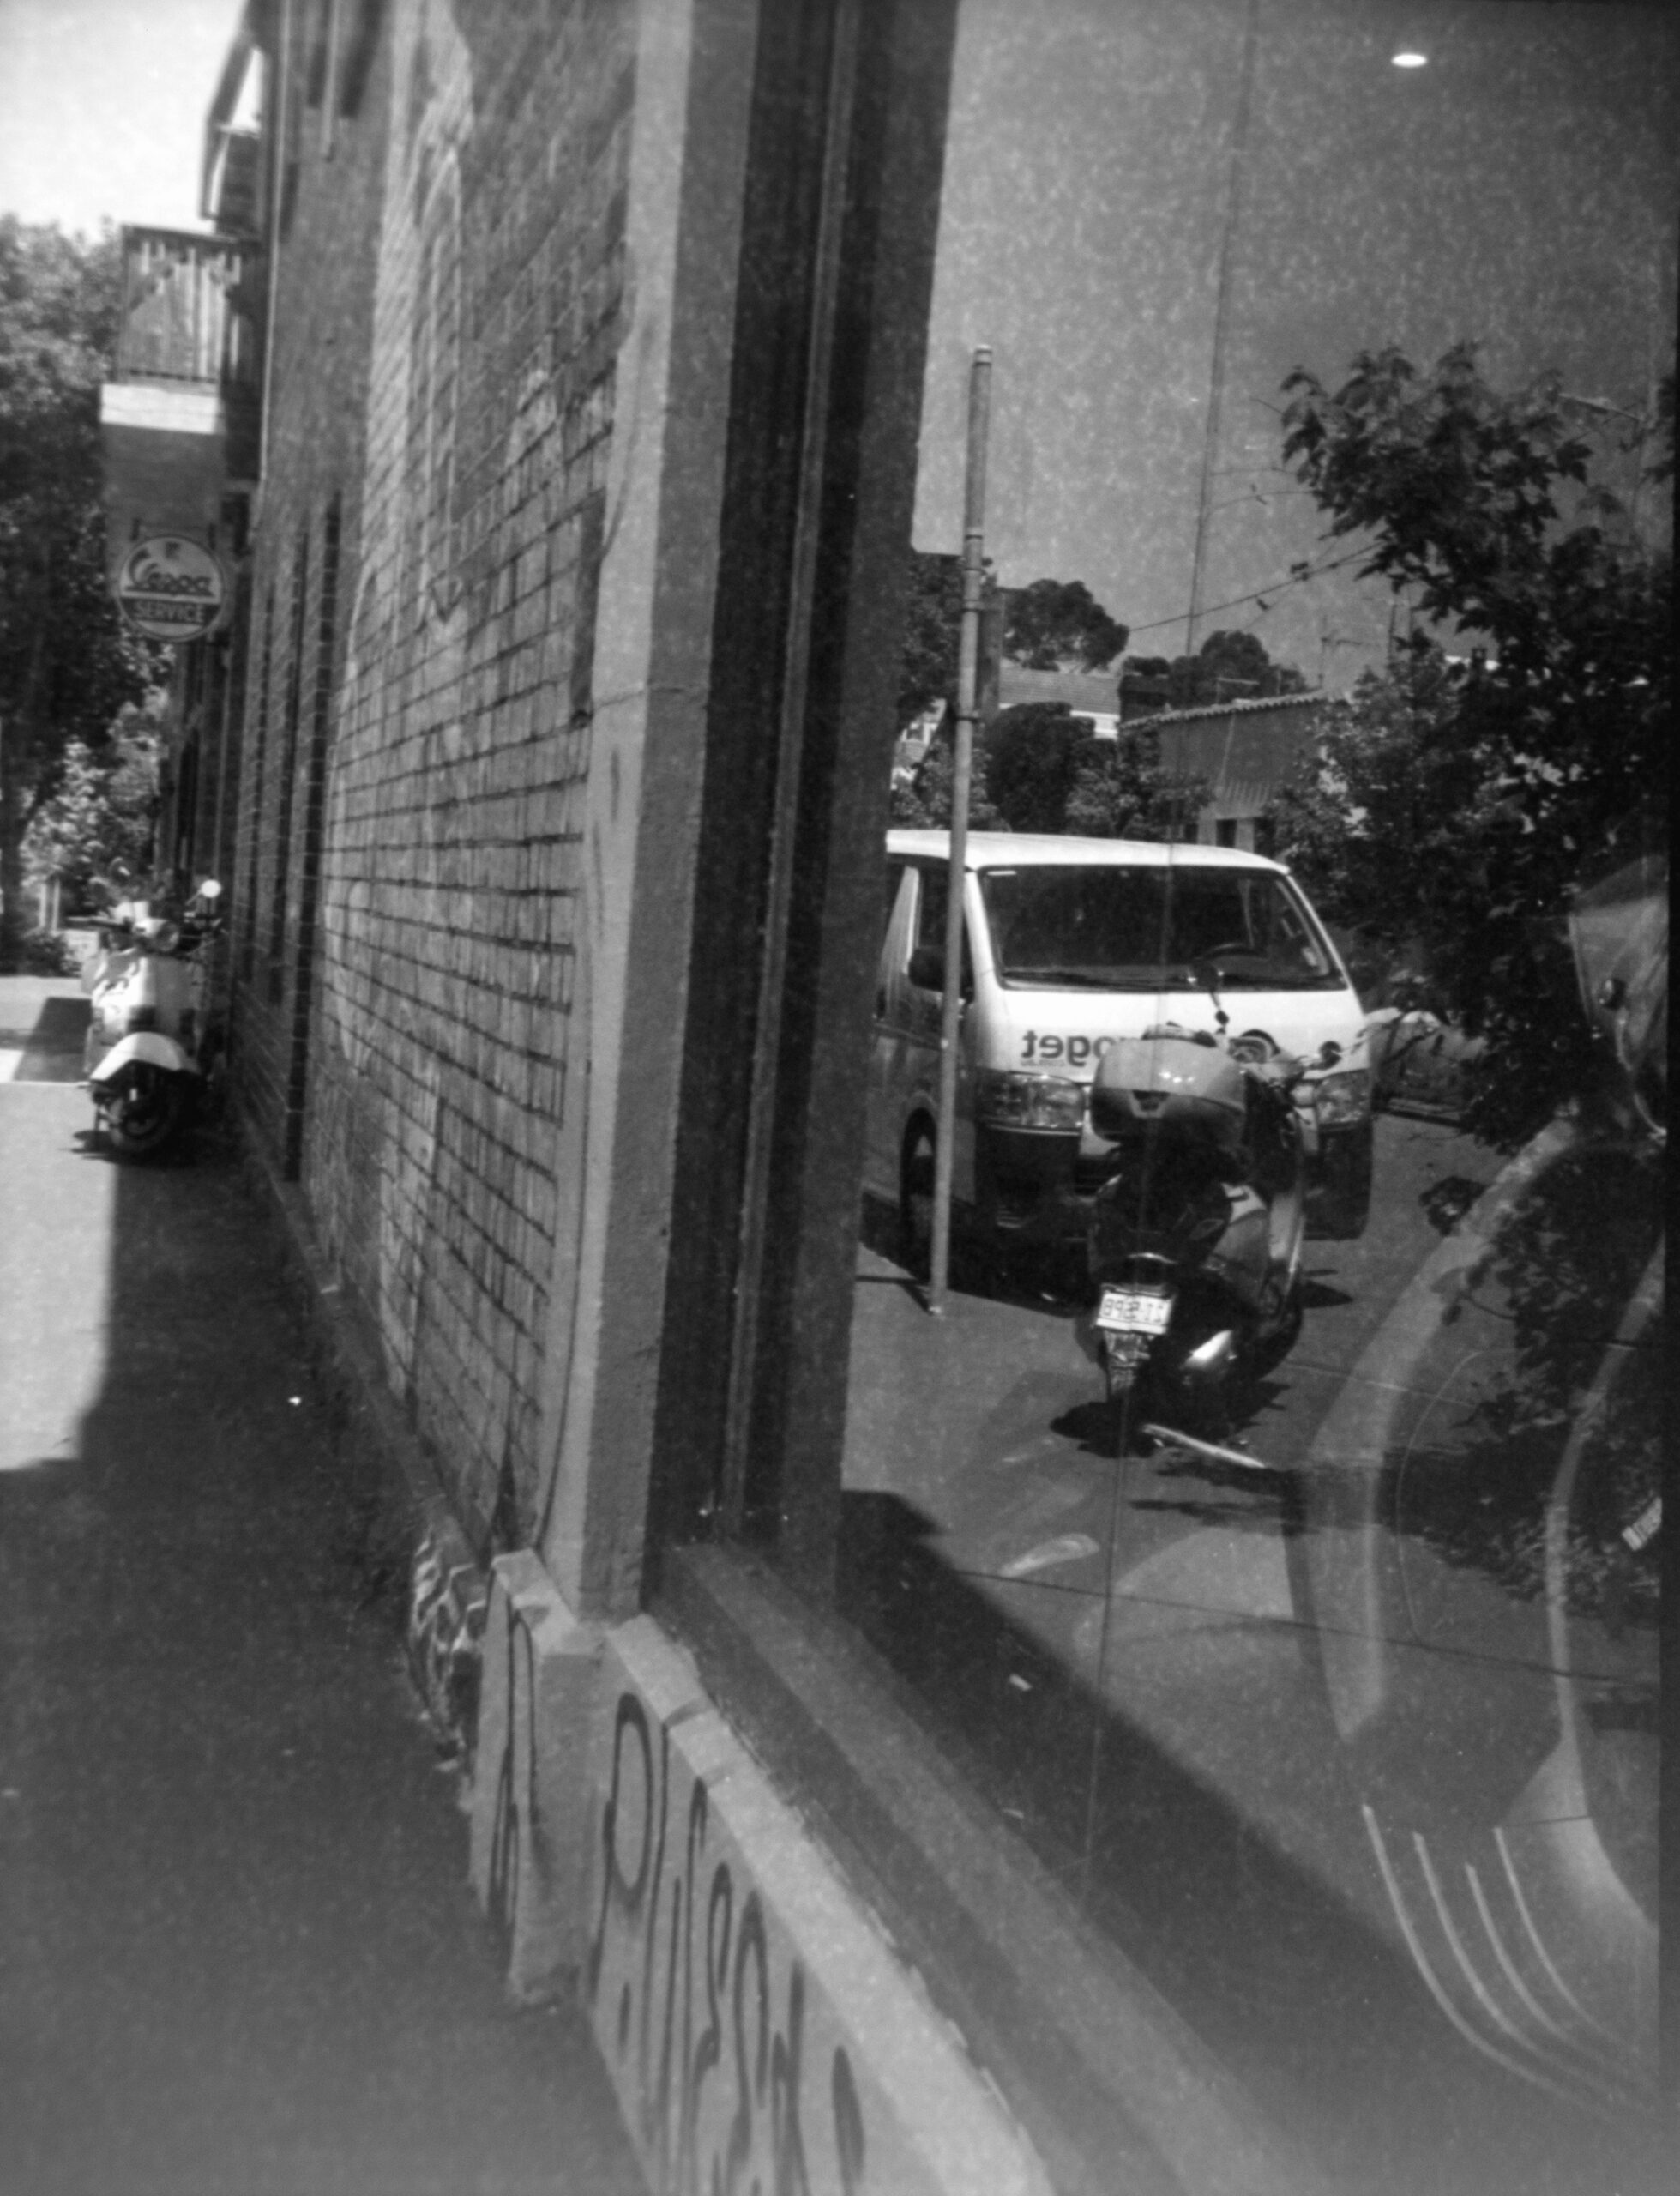
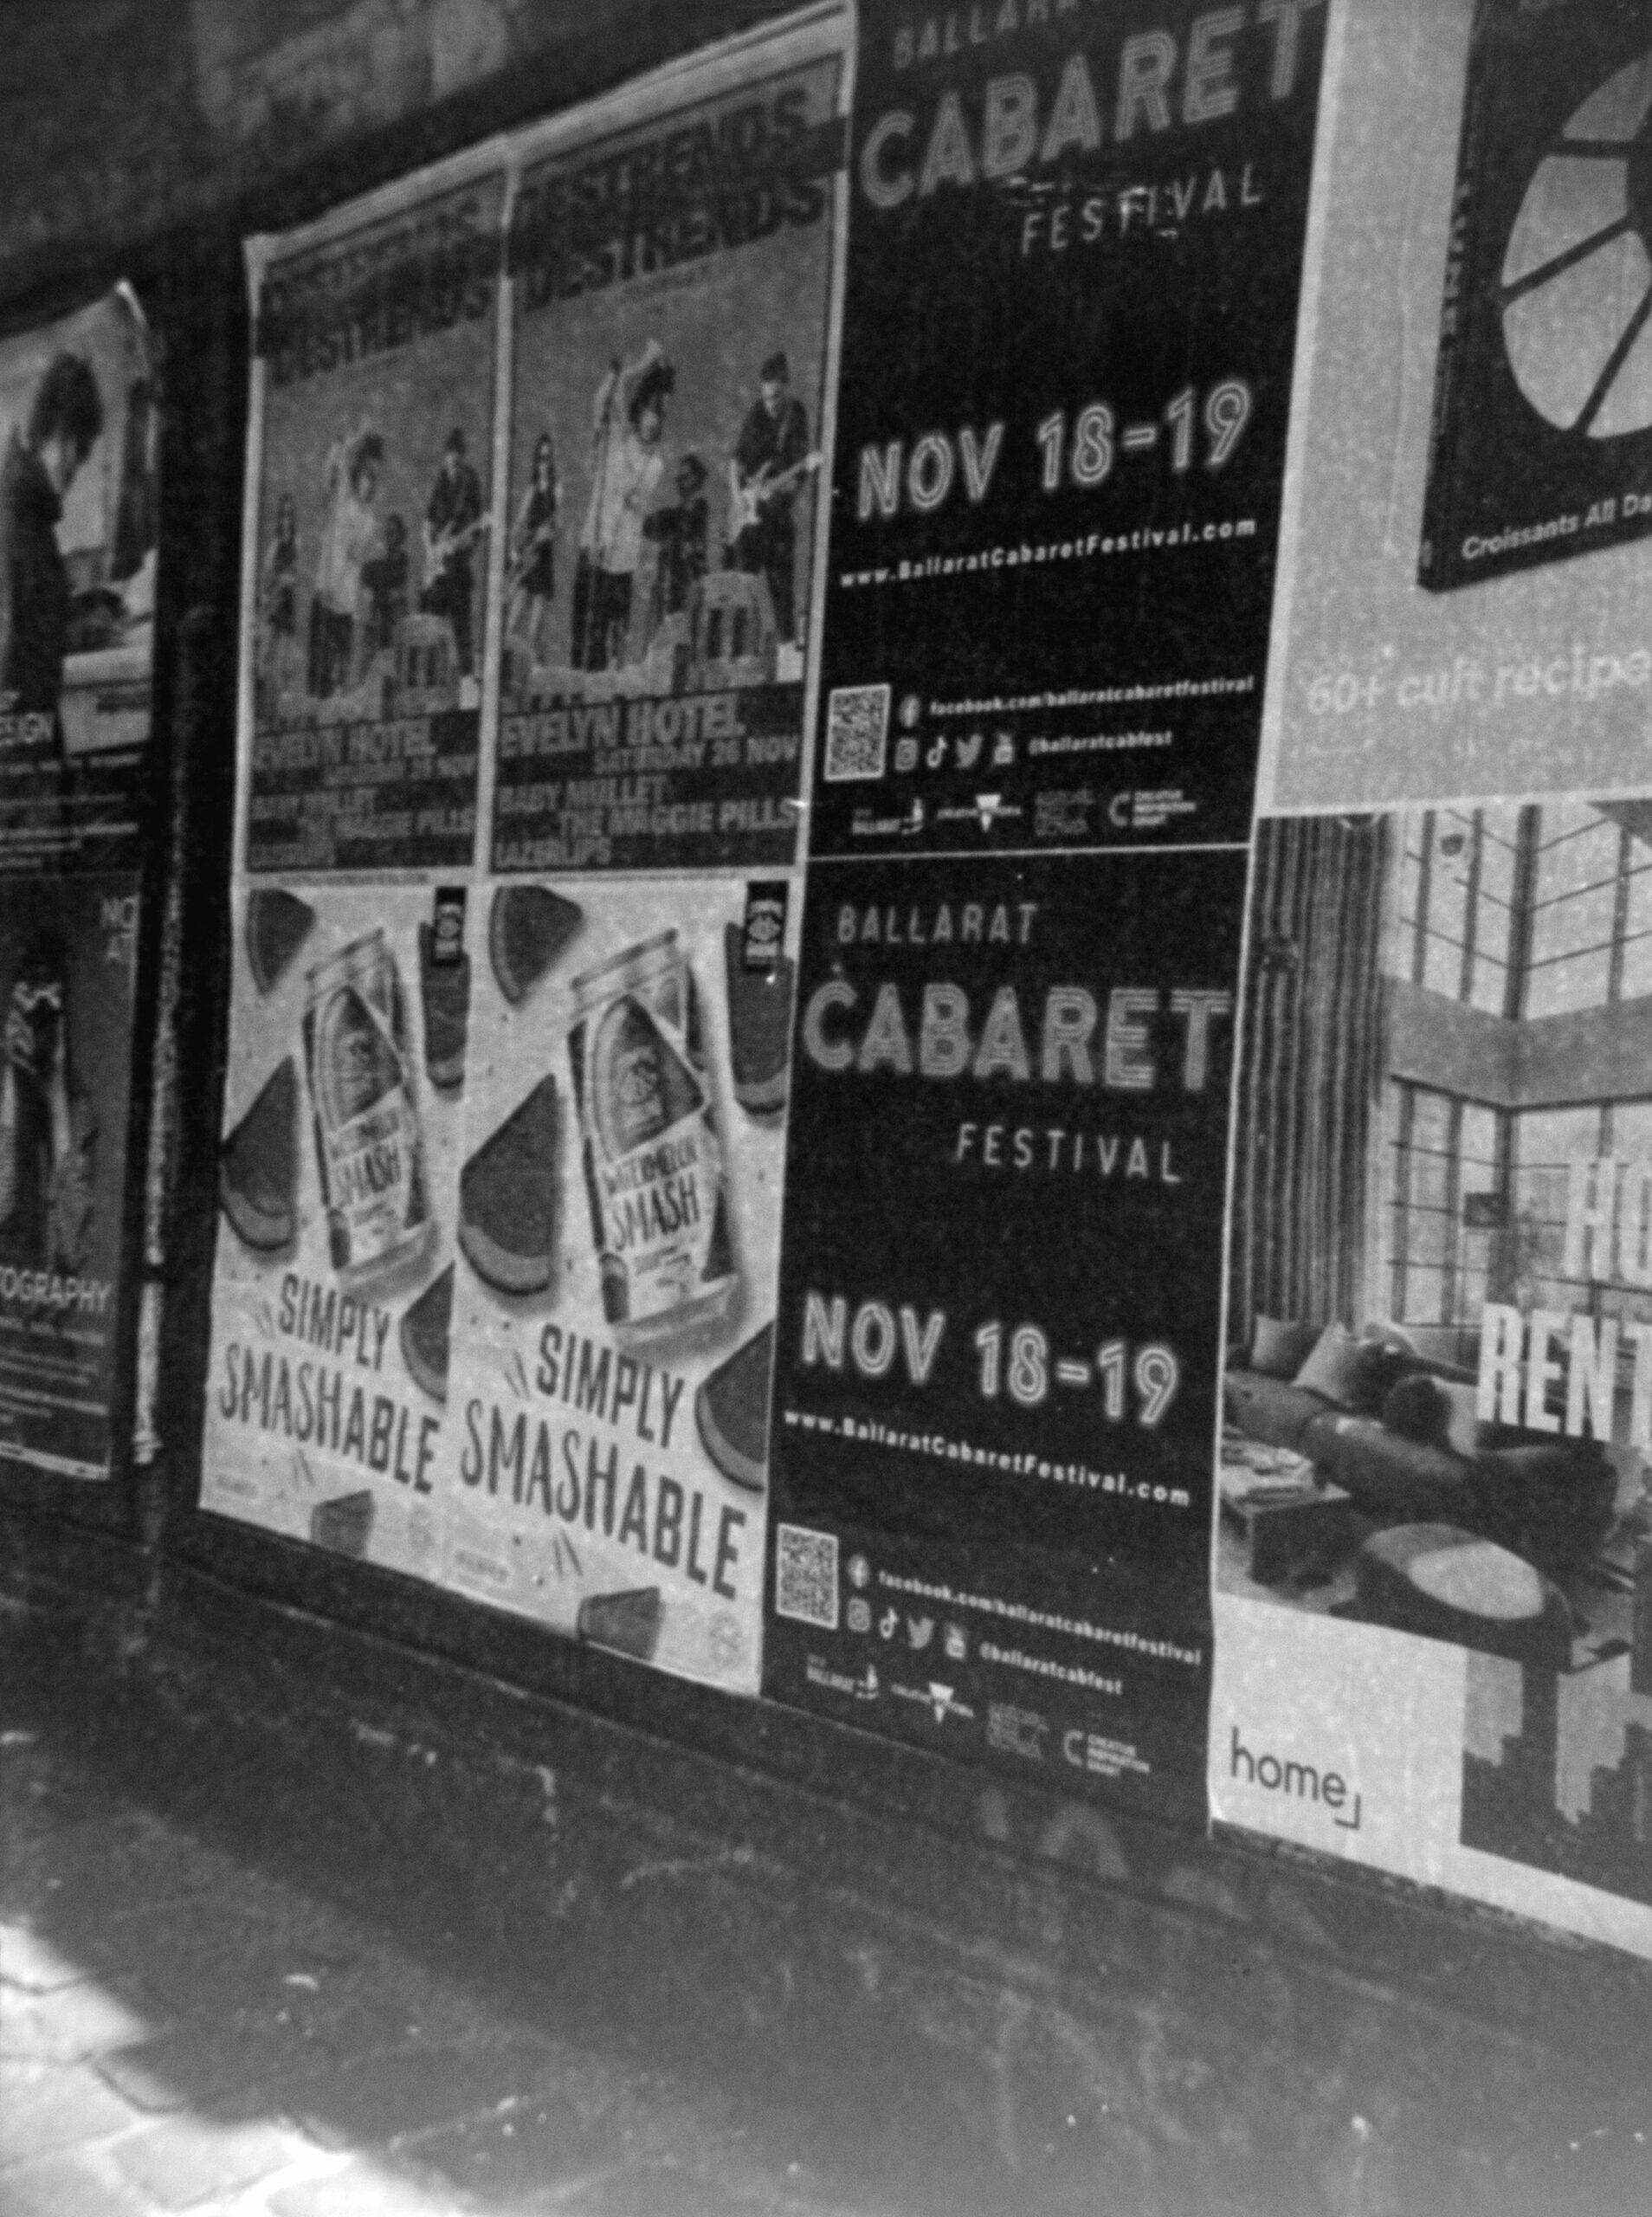
I purchased this tiny little camera at the Box Hill Photographic Market in March last year and took it our for a test run in Johnstone Street Collingwood on a sunny day. But first, a bit about this camera.
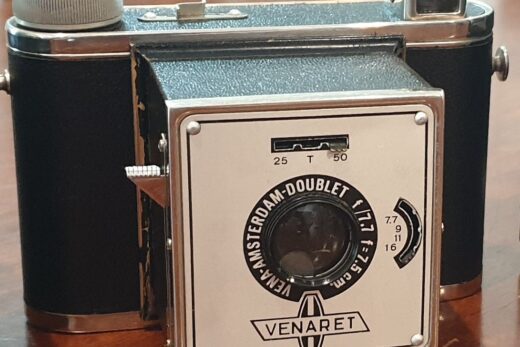
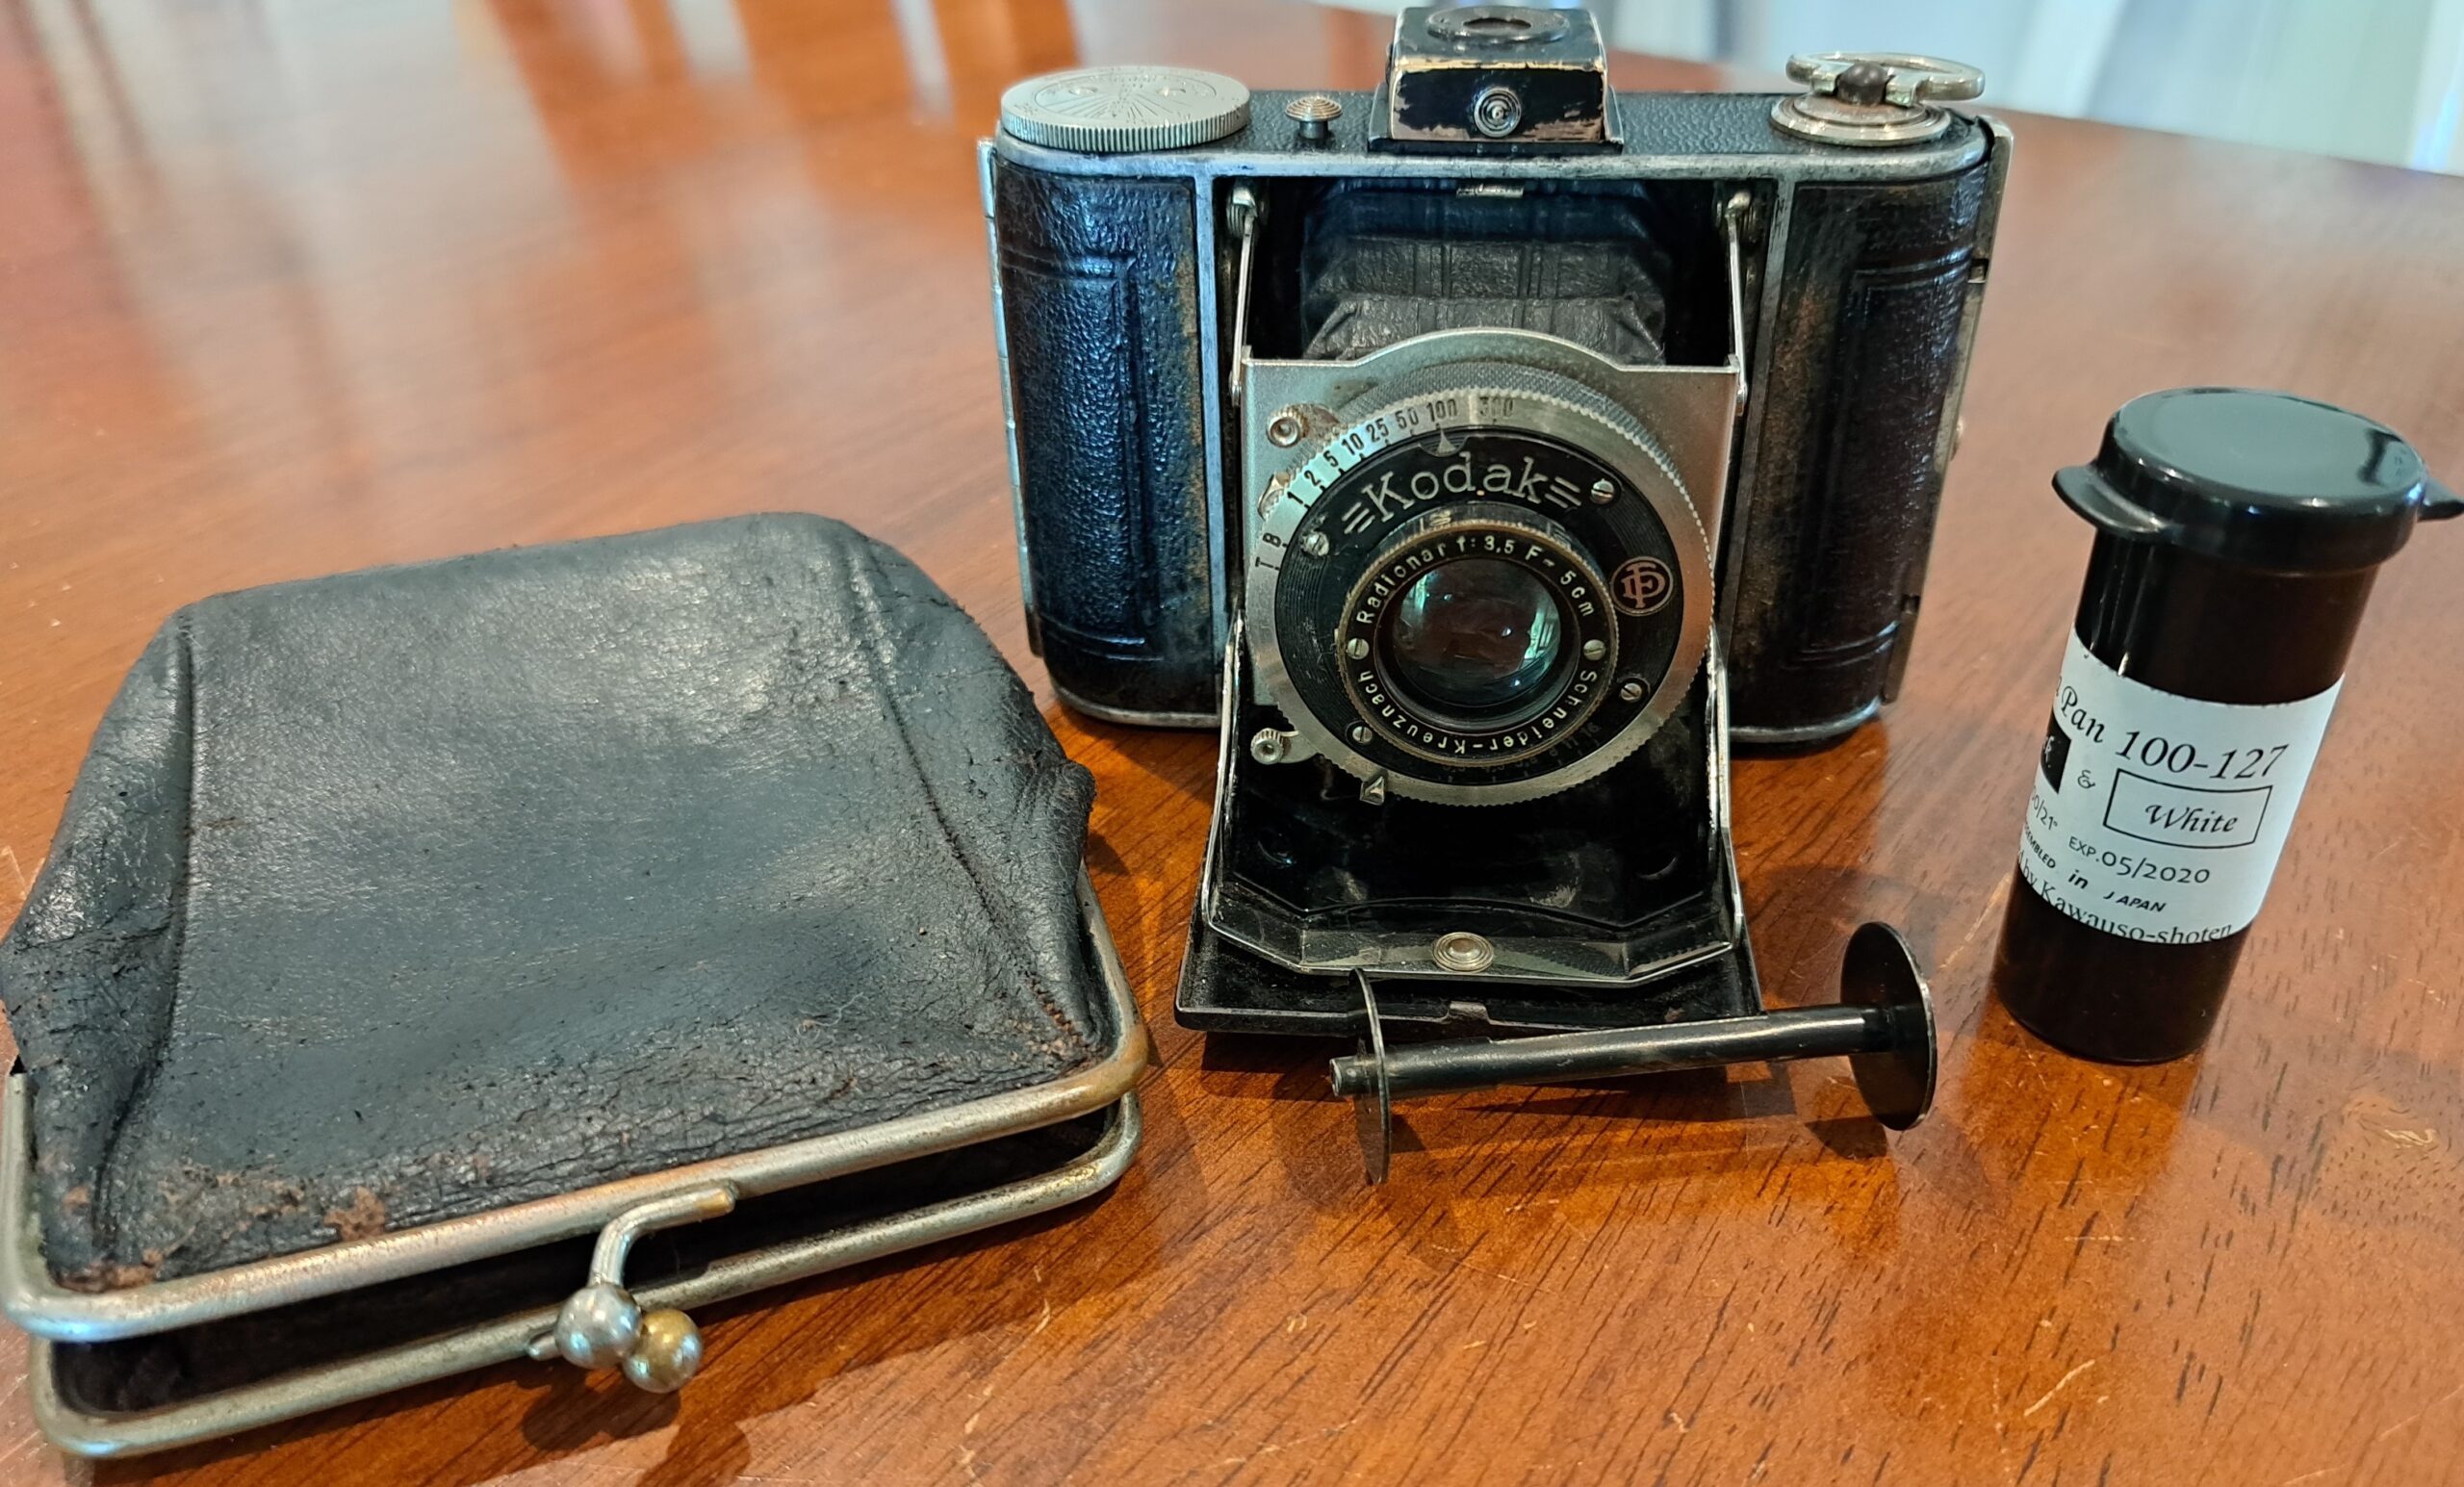
The Kodak Vollenda 48, is a folding camera that shoots 16 3cm x 4cm (half frame) images on 127 film. It was originally made by Nagel Kamera-Werke and later by Kodak AG in Stuttgart, Germany between 1929 and 1937. The Vollenda was one of Dr. August Nagel’s models, designed at his own company, and brought over to Kodak when he merged with them in 1931. It was a high quality, folding, compact camera that had an excellent lens and a very capable shutter. Mine was made after 1931 when Nagel merged with Kodak. When I purchased this camera it came in a little purse, which doesn’t appear to be original but I can image a lady of the time keeping the camera in such a purse.
Specifications
- Lens: 50mm f/3.5 Schneider-Kreuznach Radionar uncoated 3-elements
- Focus: 3.5 feet to Infinity
- Viewfinder: Flip up Reverse Galilean Scale Focus Finder
- Shutter: Compur-Rapid Leaf
- Speeds: T, B, 1 – 1/300 seconds
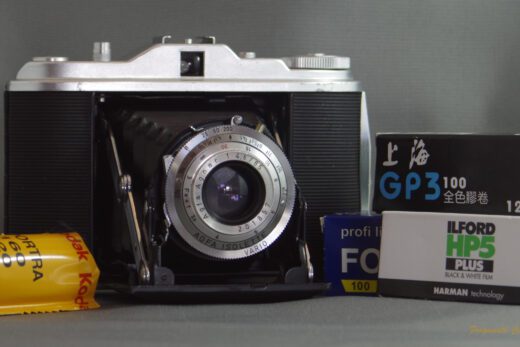
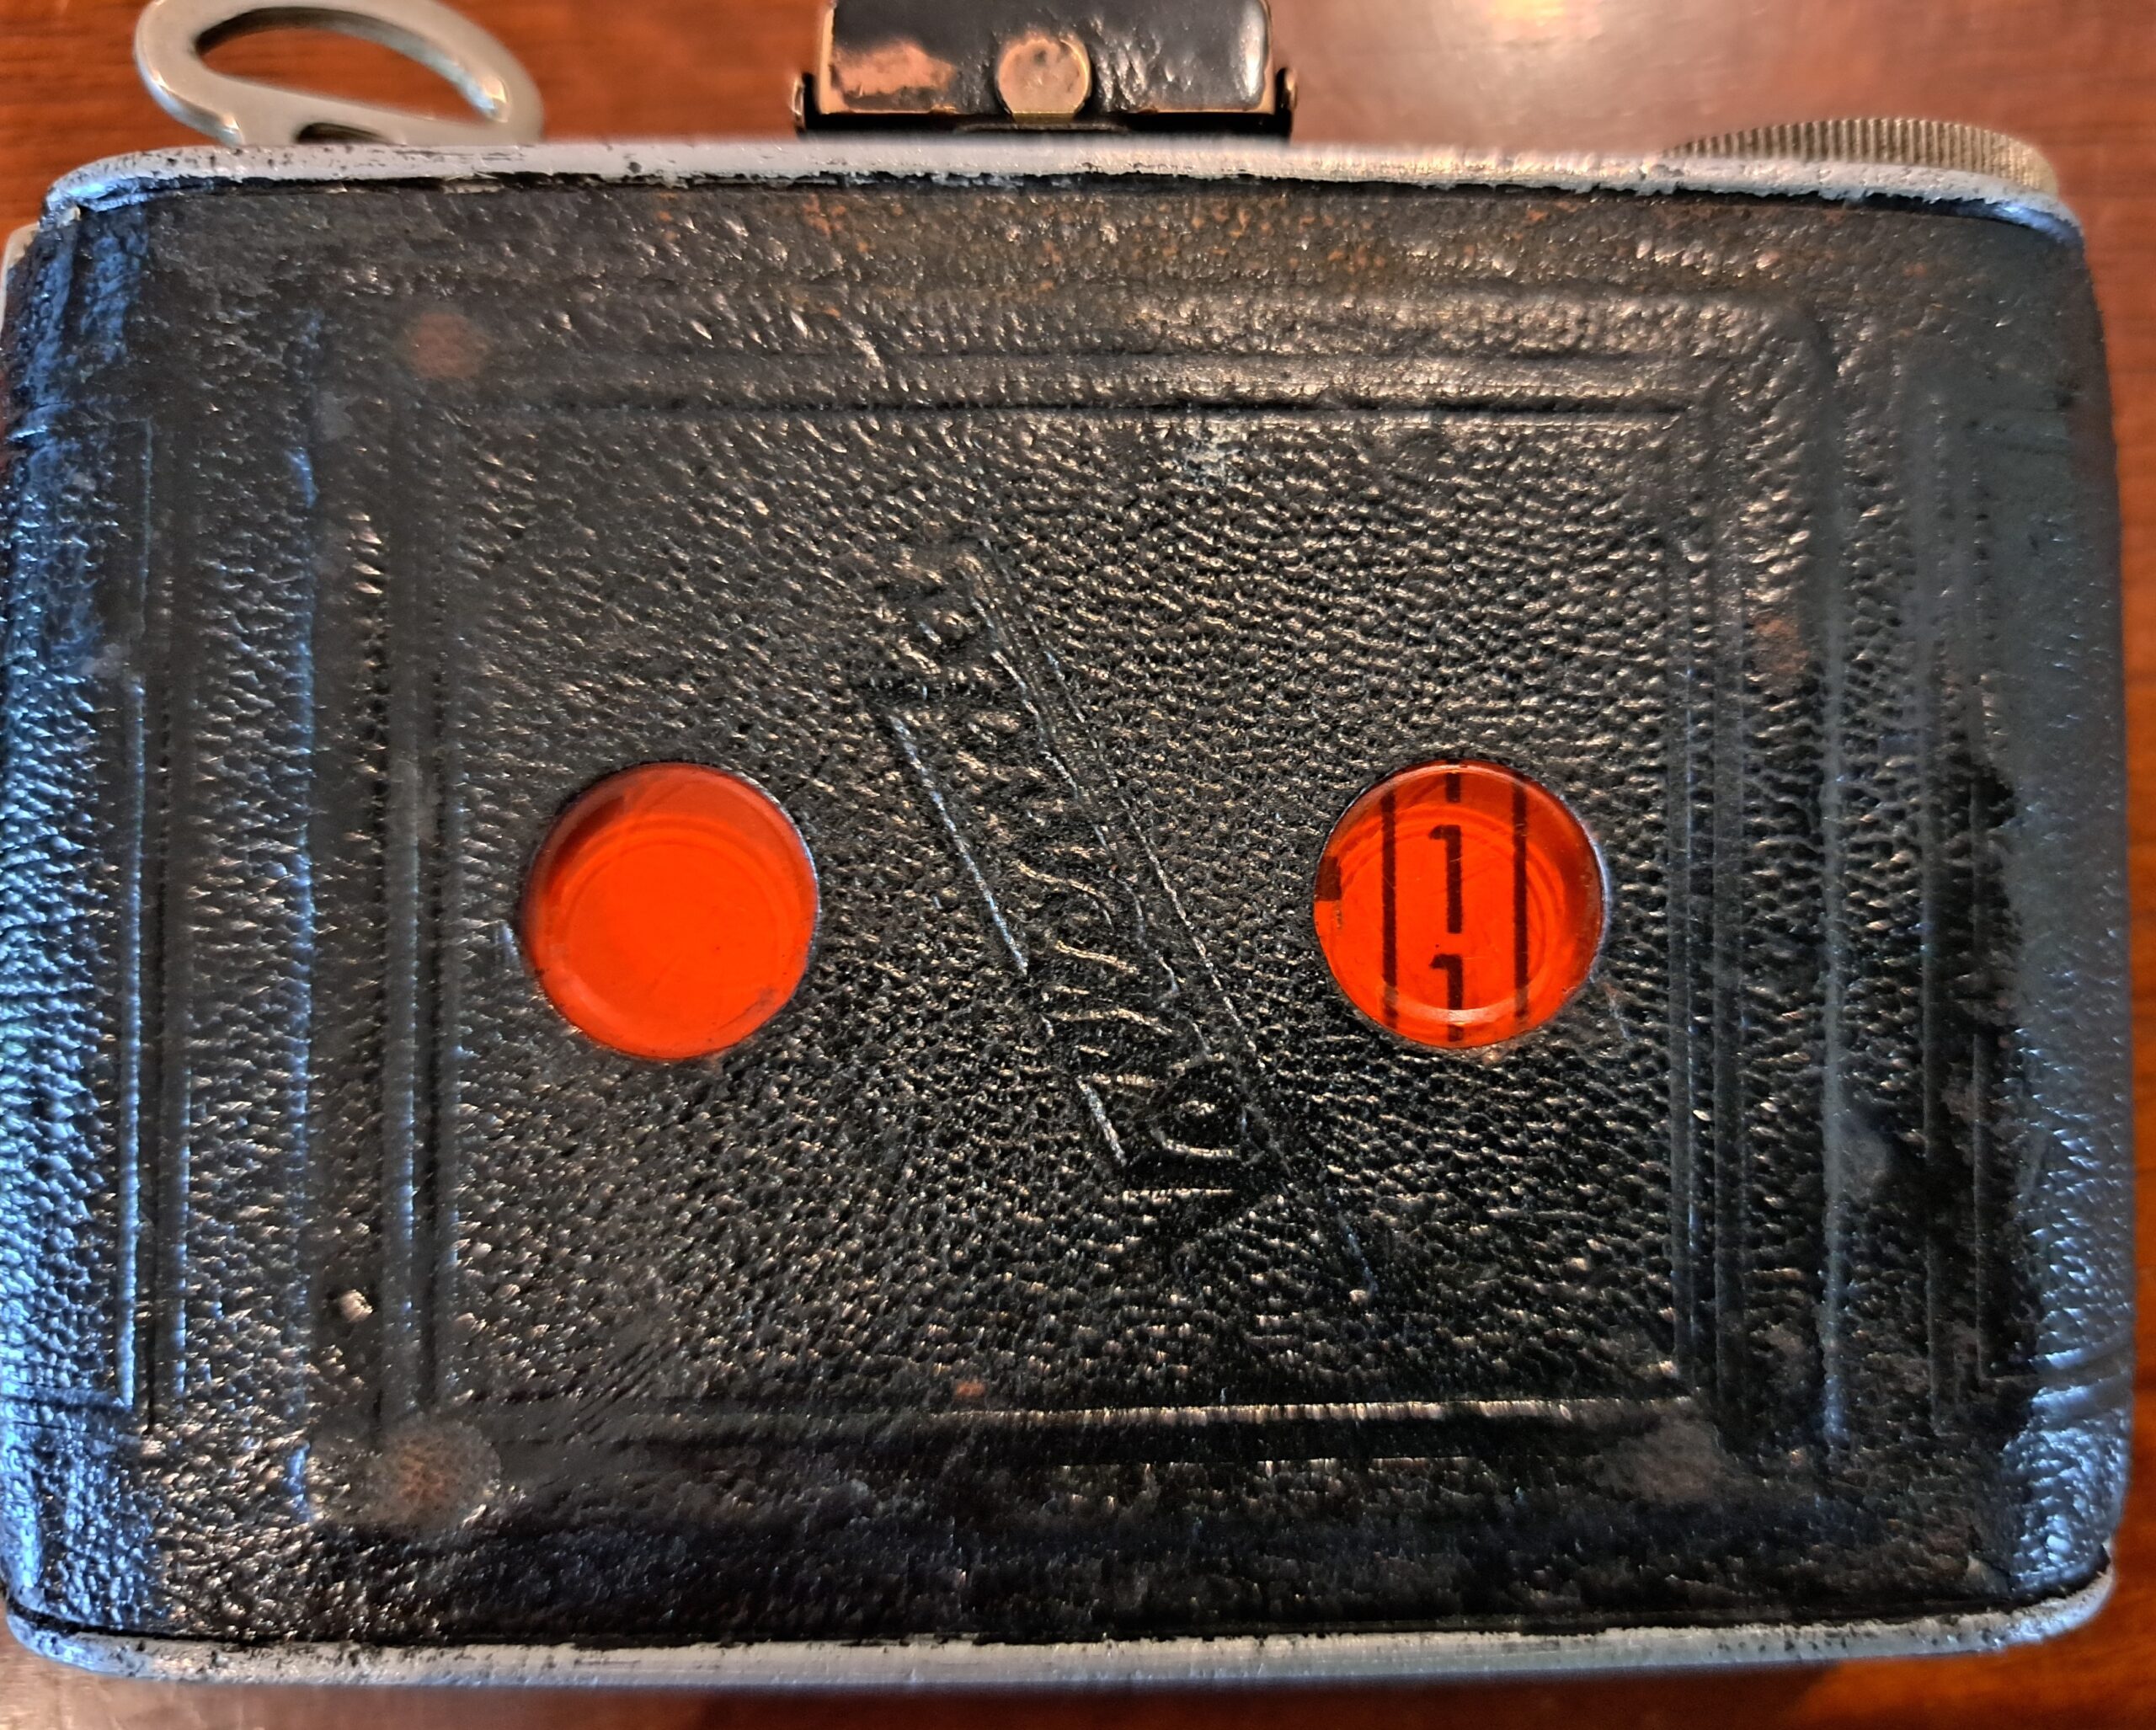
To load the 127 film, a take-up spool is required (I borrowed one from another 127 film camera). There is a slide latch on the camera’s left side that opens the hinged back to access the film compartment. The takeup spool goes on the left, and a new spool of film goes on the right side. The back of the camera has two red exposure windows which both need to be used when winding on the film. The backing paper for modern 127 film doesn’t have the correct exposure numbers for “half frame” cameras that shoot 3cm x 4cm images, as the numbers are set for 4cm x 6cm. When advancing the film, the first frame is shot with the number one in the red window on the right. After taking the first exposure, advance the film until the number 1 is in the red window on the left. After taking the second exposure, advance the film until the number 2 is in the window to the right. Repeat until you have taken 16 exposures, the final image will have the number 8 in the left red window.
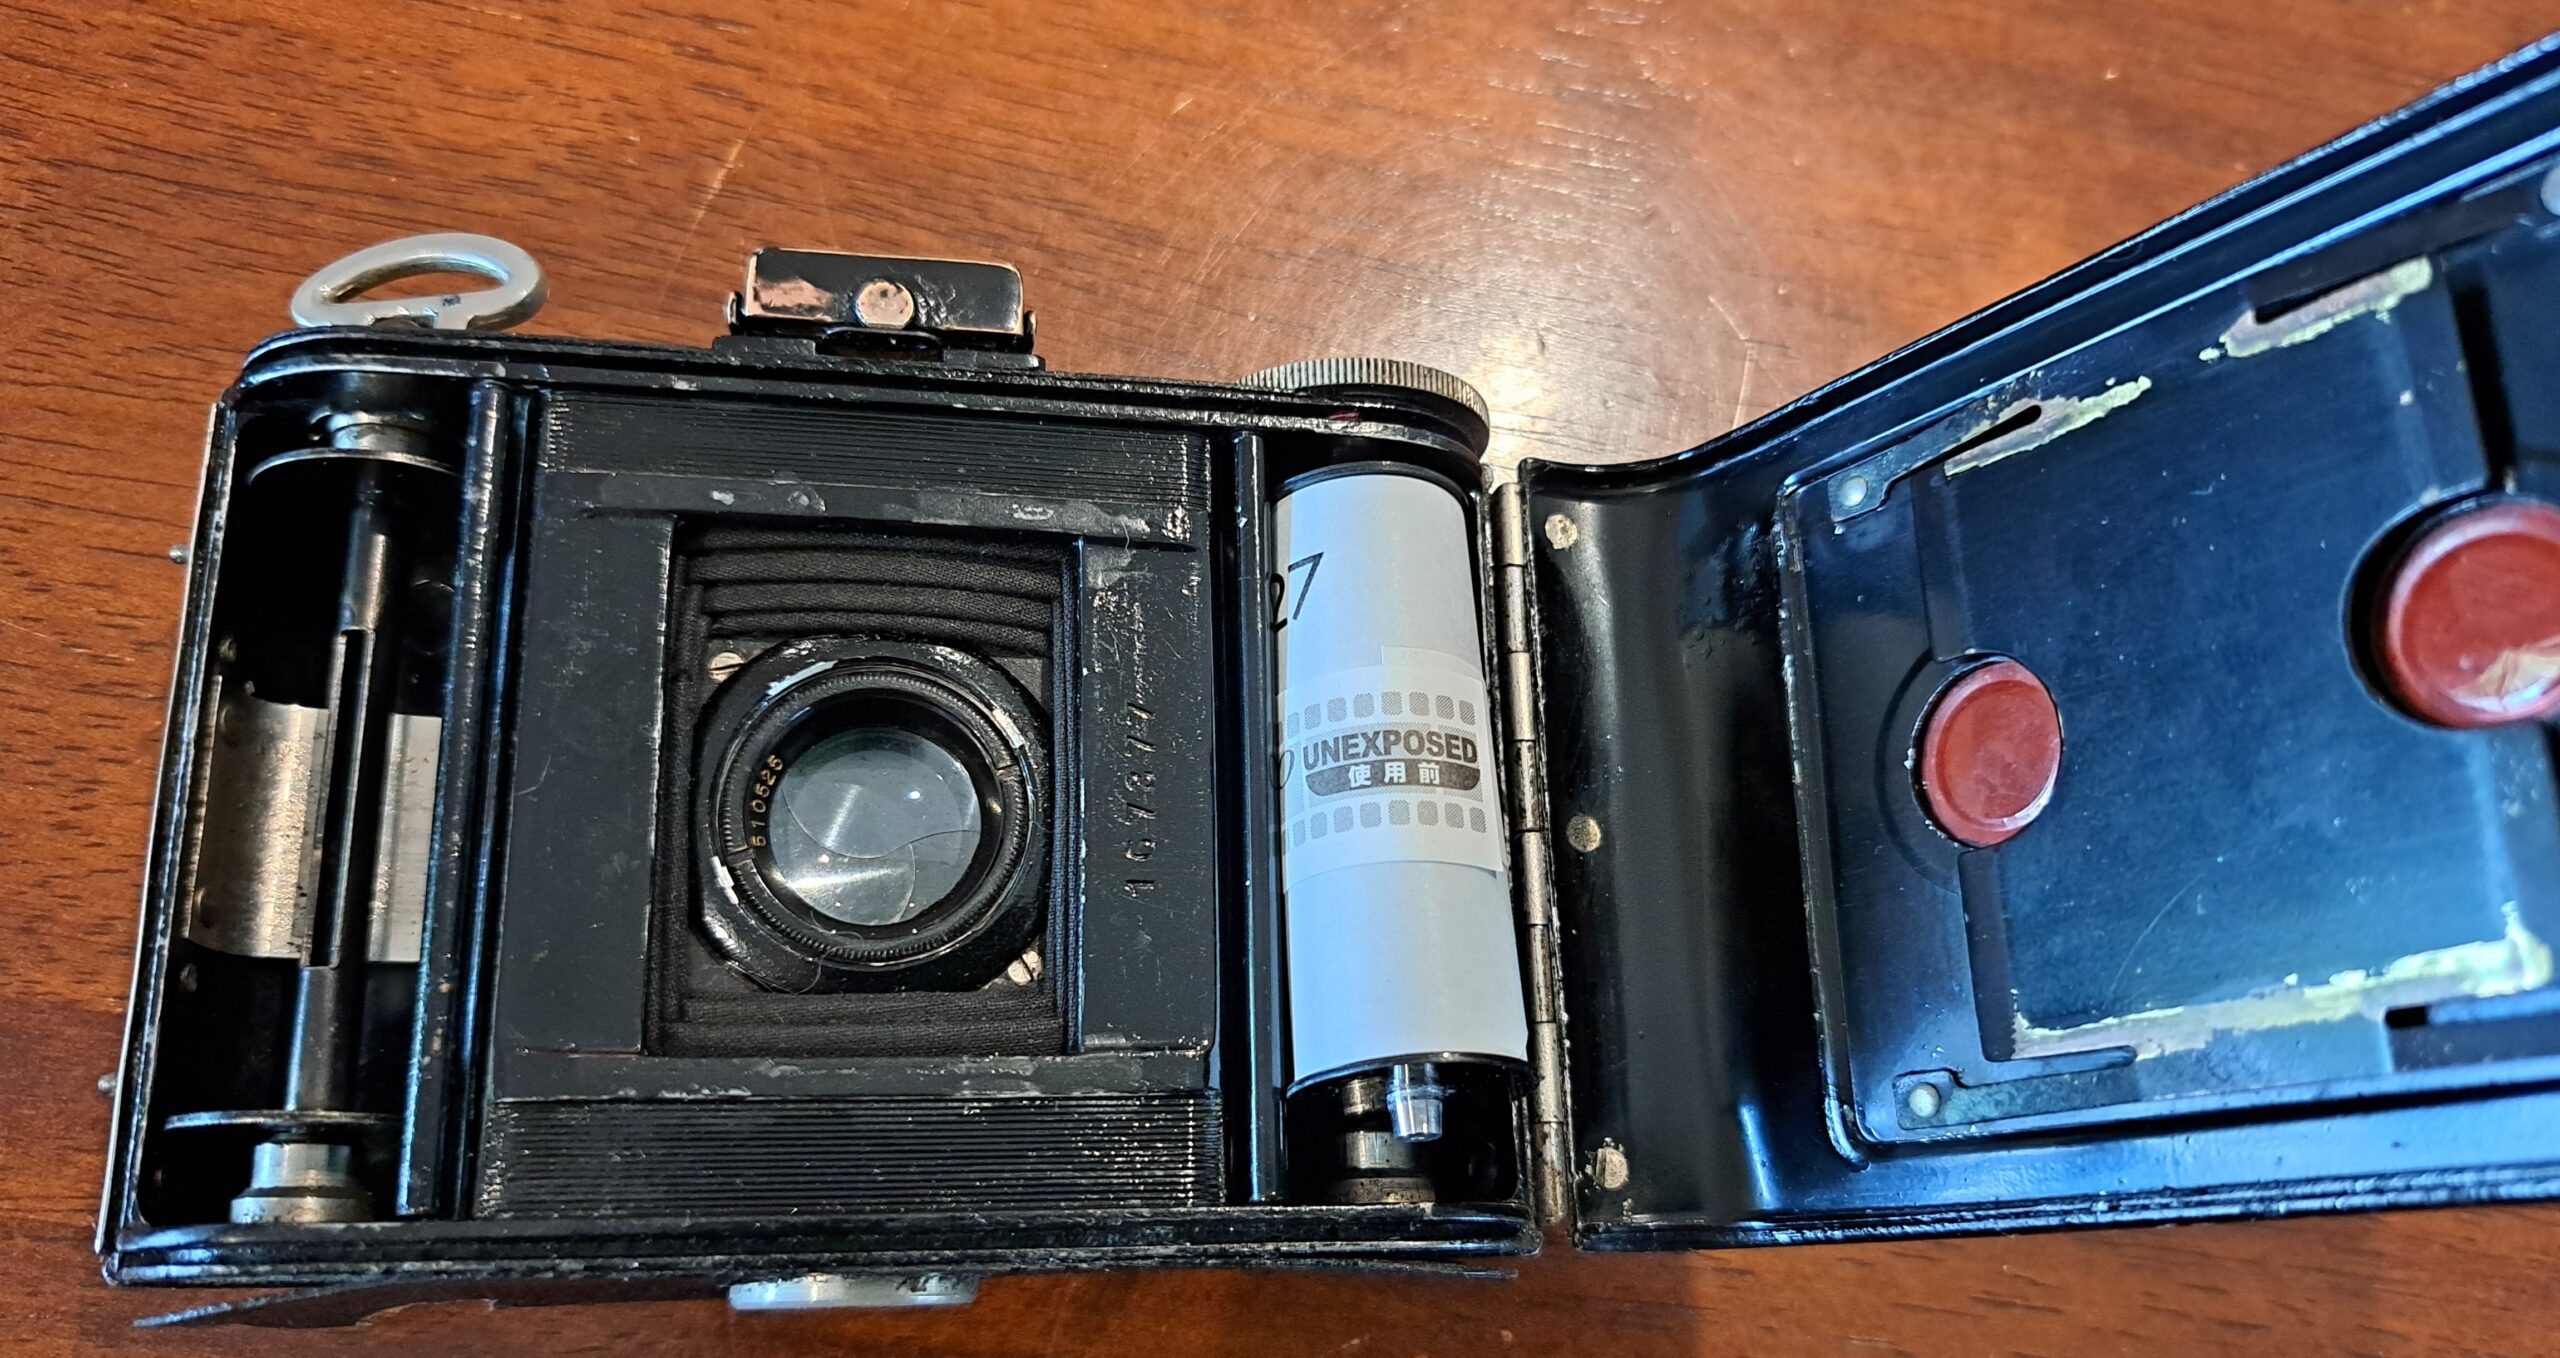
I used Rera Pan 127-100 film, which I had purchased on eBay years ago for the camera that I borrowed the take-up spool from, which I still need to clean up and test. I now have a plastic take-up spool for future use. This was my first time using the Rera Pan; it expired in 2020 but had been kept in the fridge since purchase.
The viewfinder is a flip up optical design. Mine is cracked, but still useable, the main issue is the teeny tiny hole (less than 1cm x 0.5cm) to look through. I used the Sunny 16 rule and set the exposure to f16 and 1/100, then started shooting. Being so tiny, roughly 7.5cm x 10.5cm, it’s a bit fiddly to take a photo with, but I found having a toothpick with me to trigger the shutter lever helped.
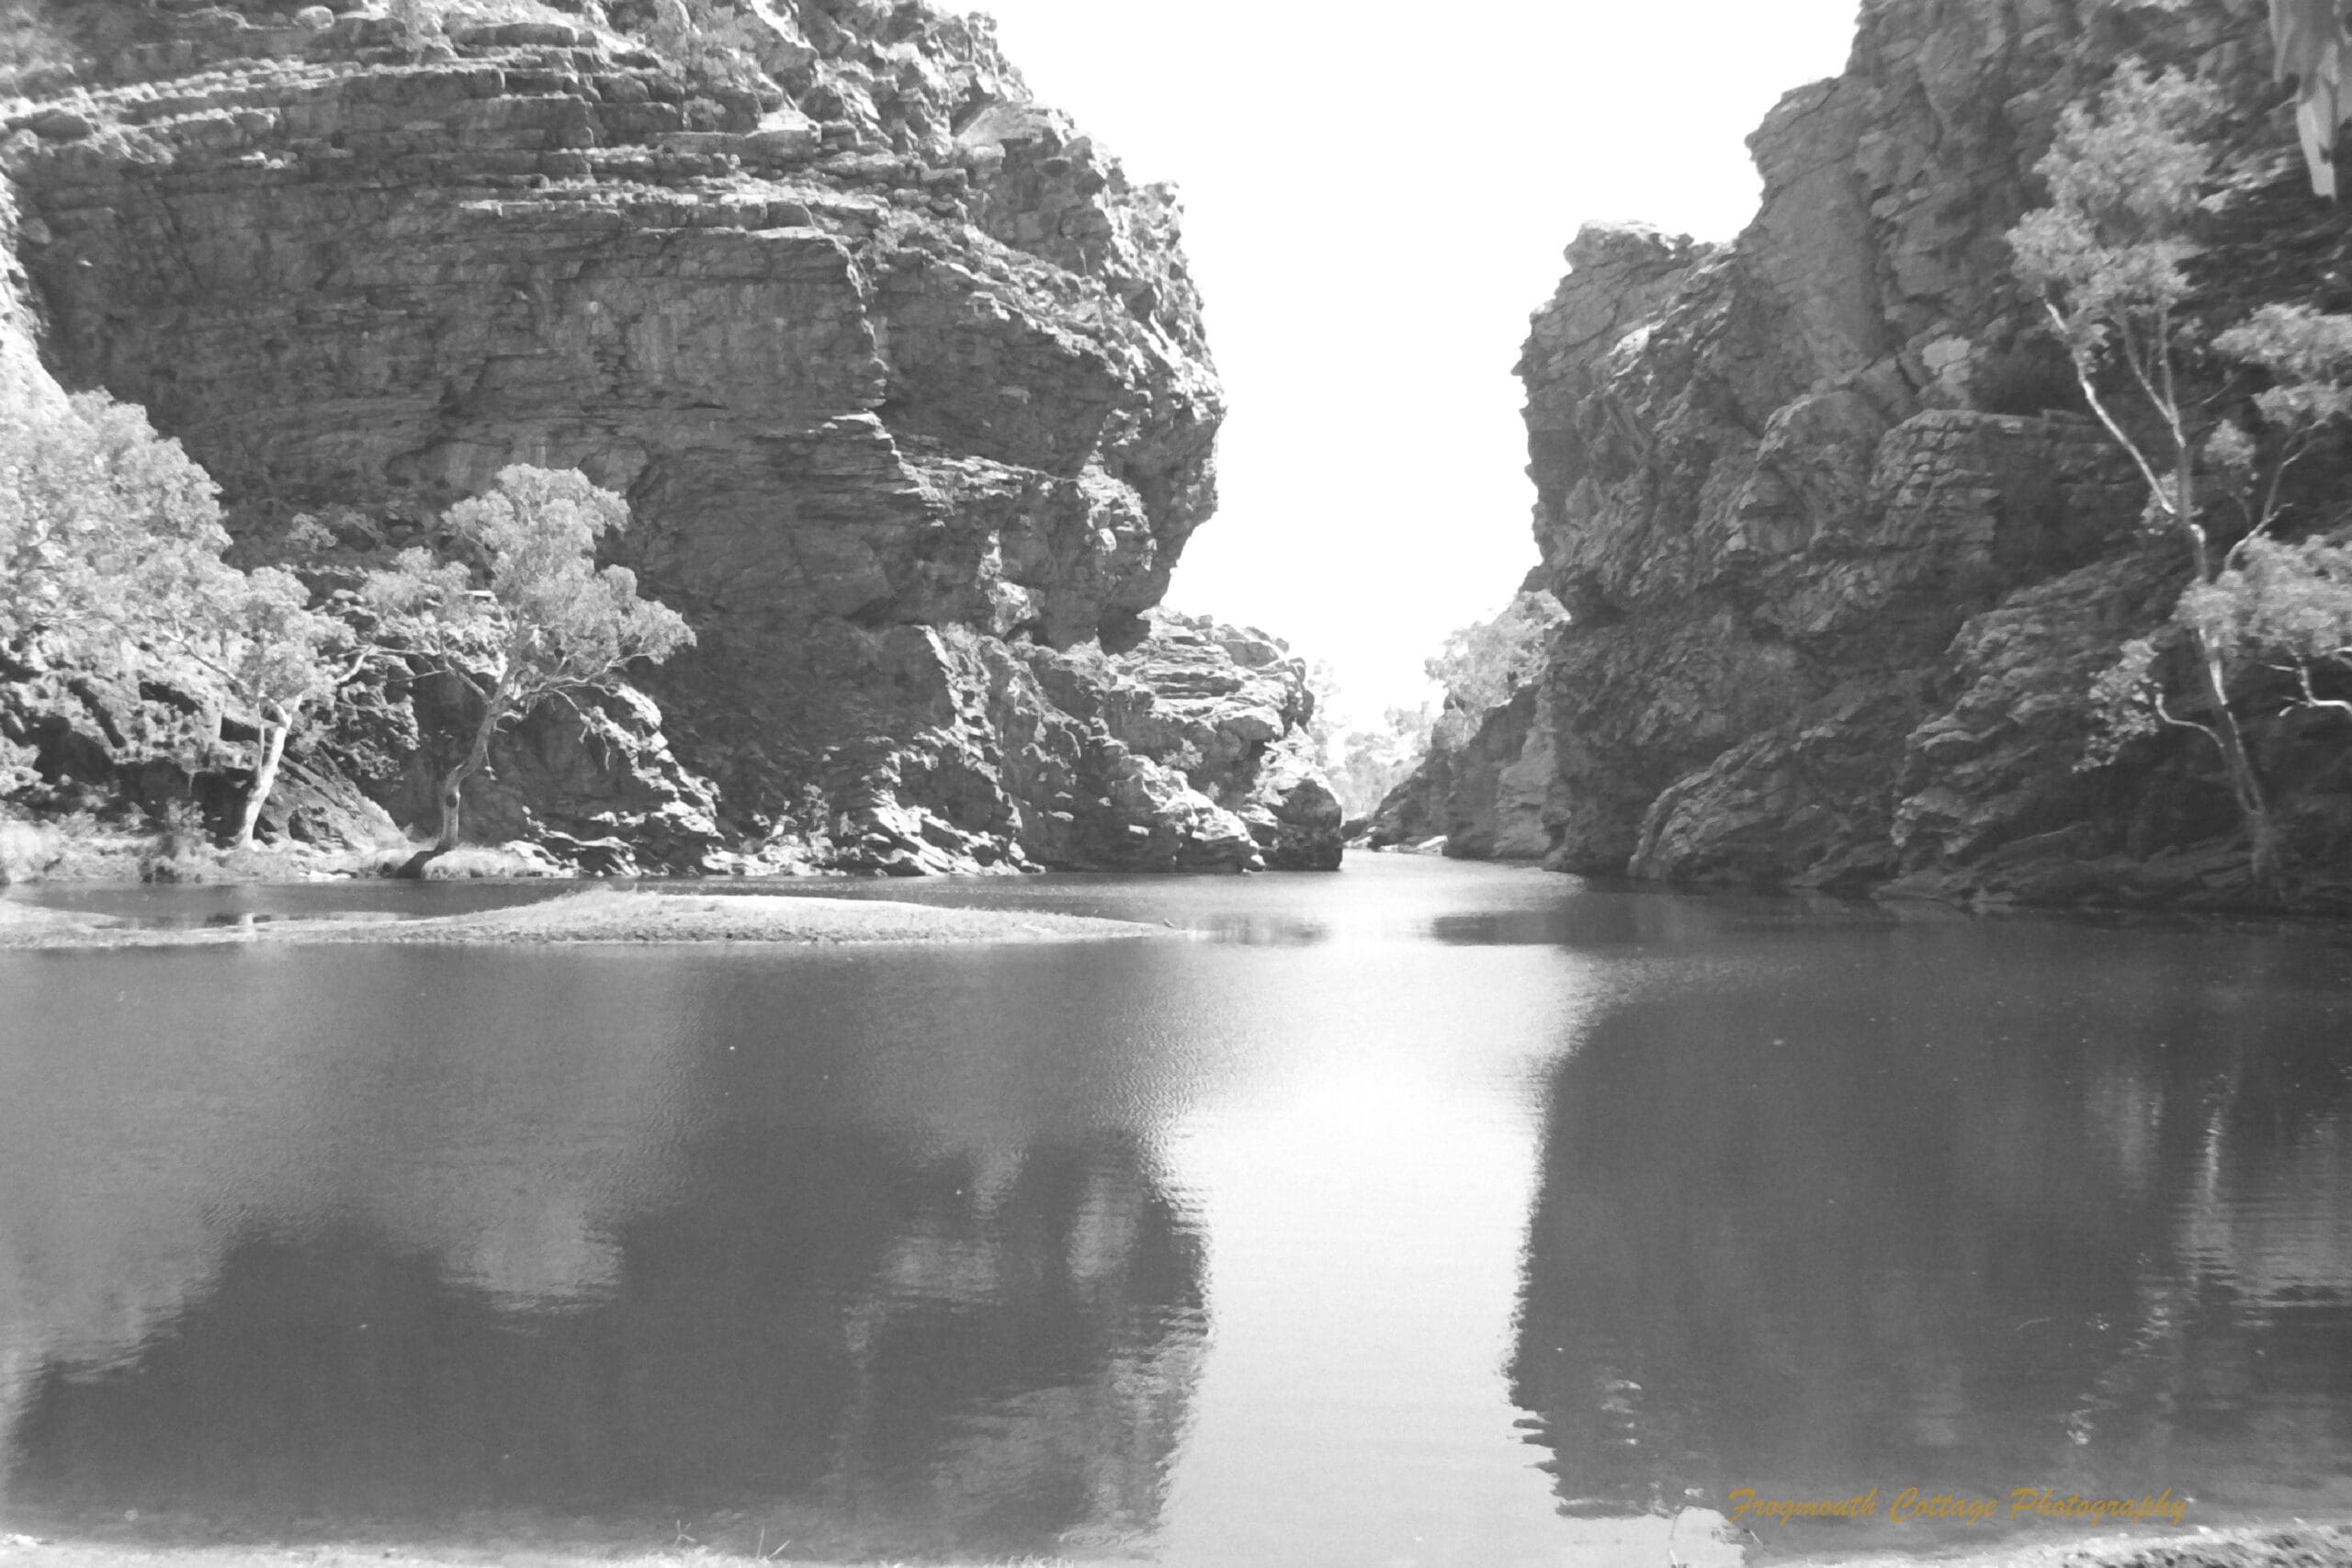
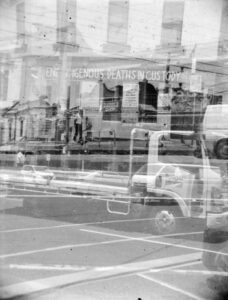
The first couple of shots I forgot to wind the film on, which resulted in a triple exposure that I really like. The remaining exposures I managed to space well, except for two where I wound on a bit to far and the number was out of the window. I had a bit of an issue with sun glare on some images, which was difficult to identify at the time through the viewfinder. Overall I’m pretty happy with the results!
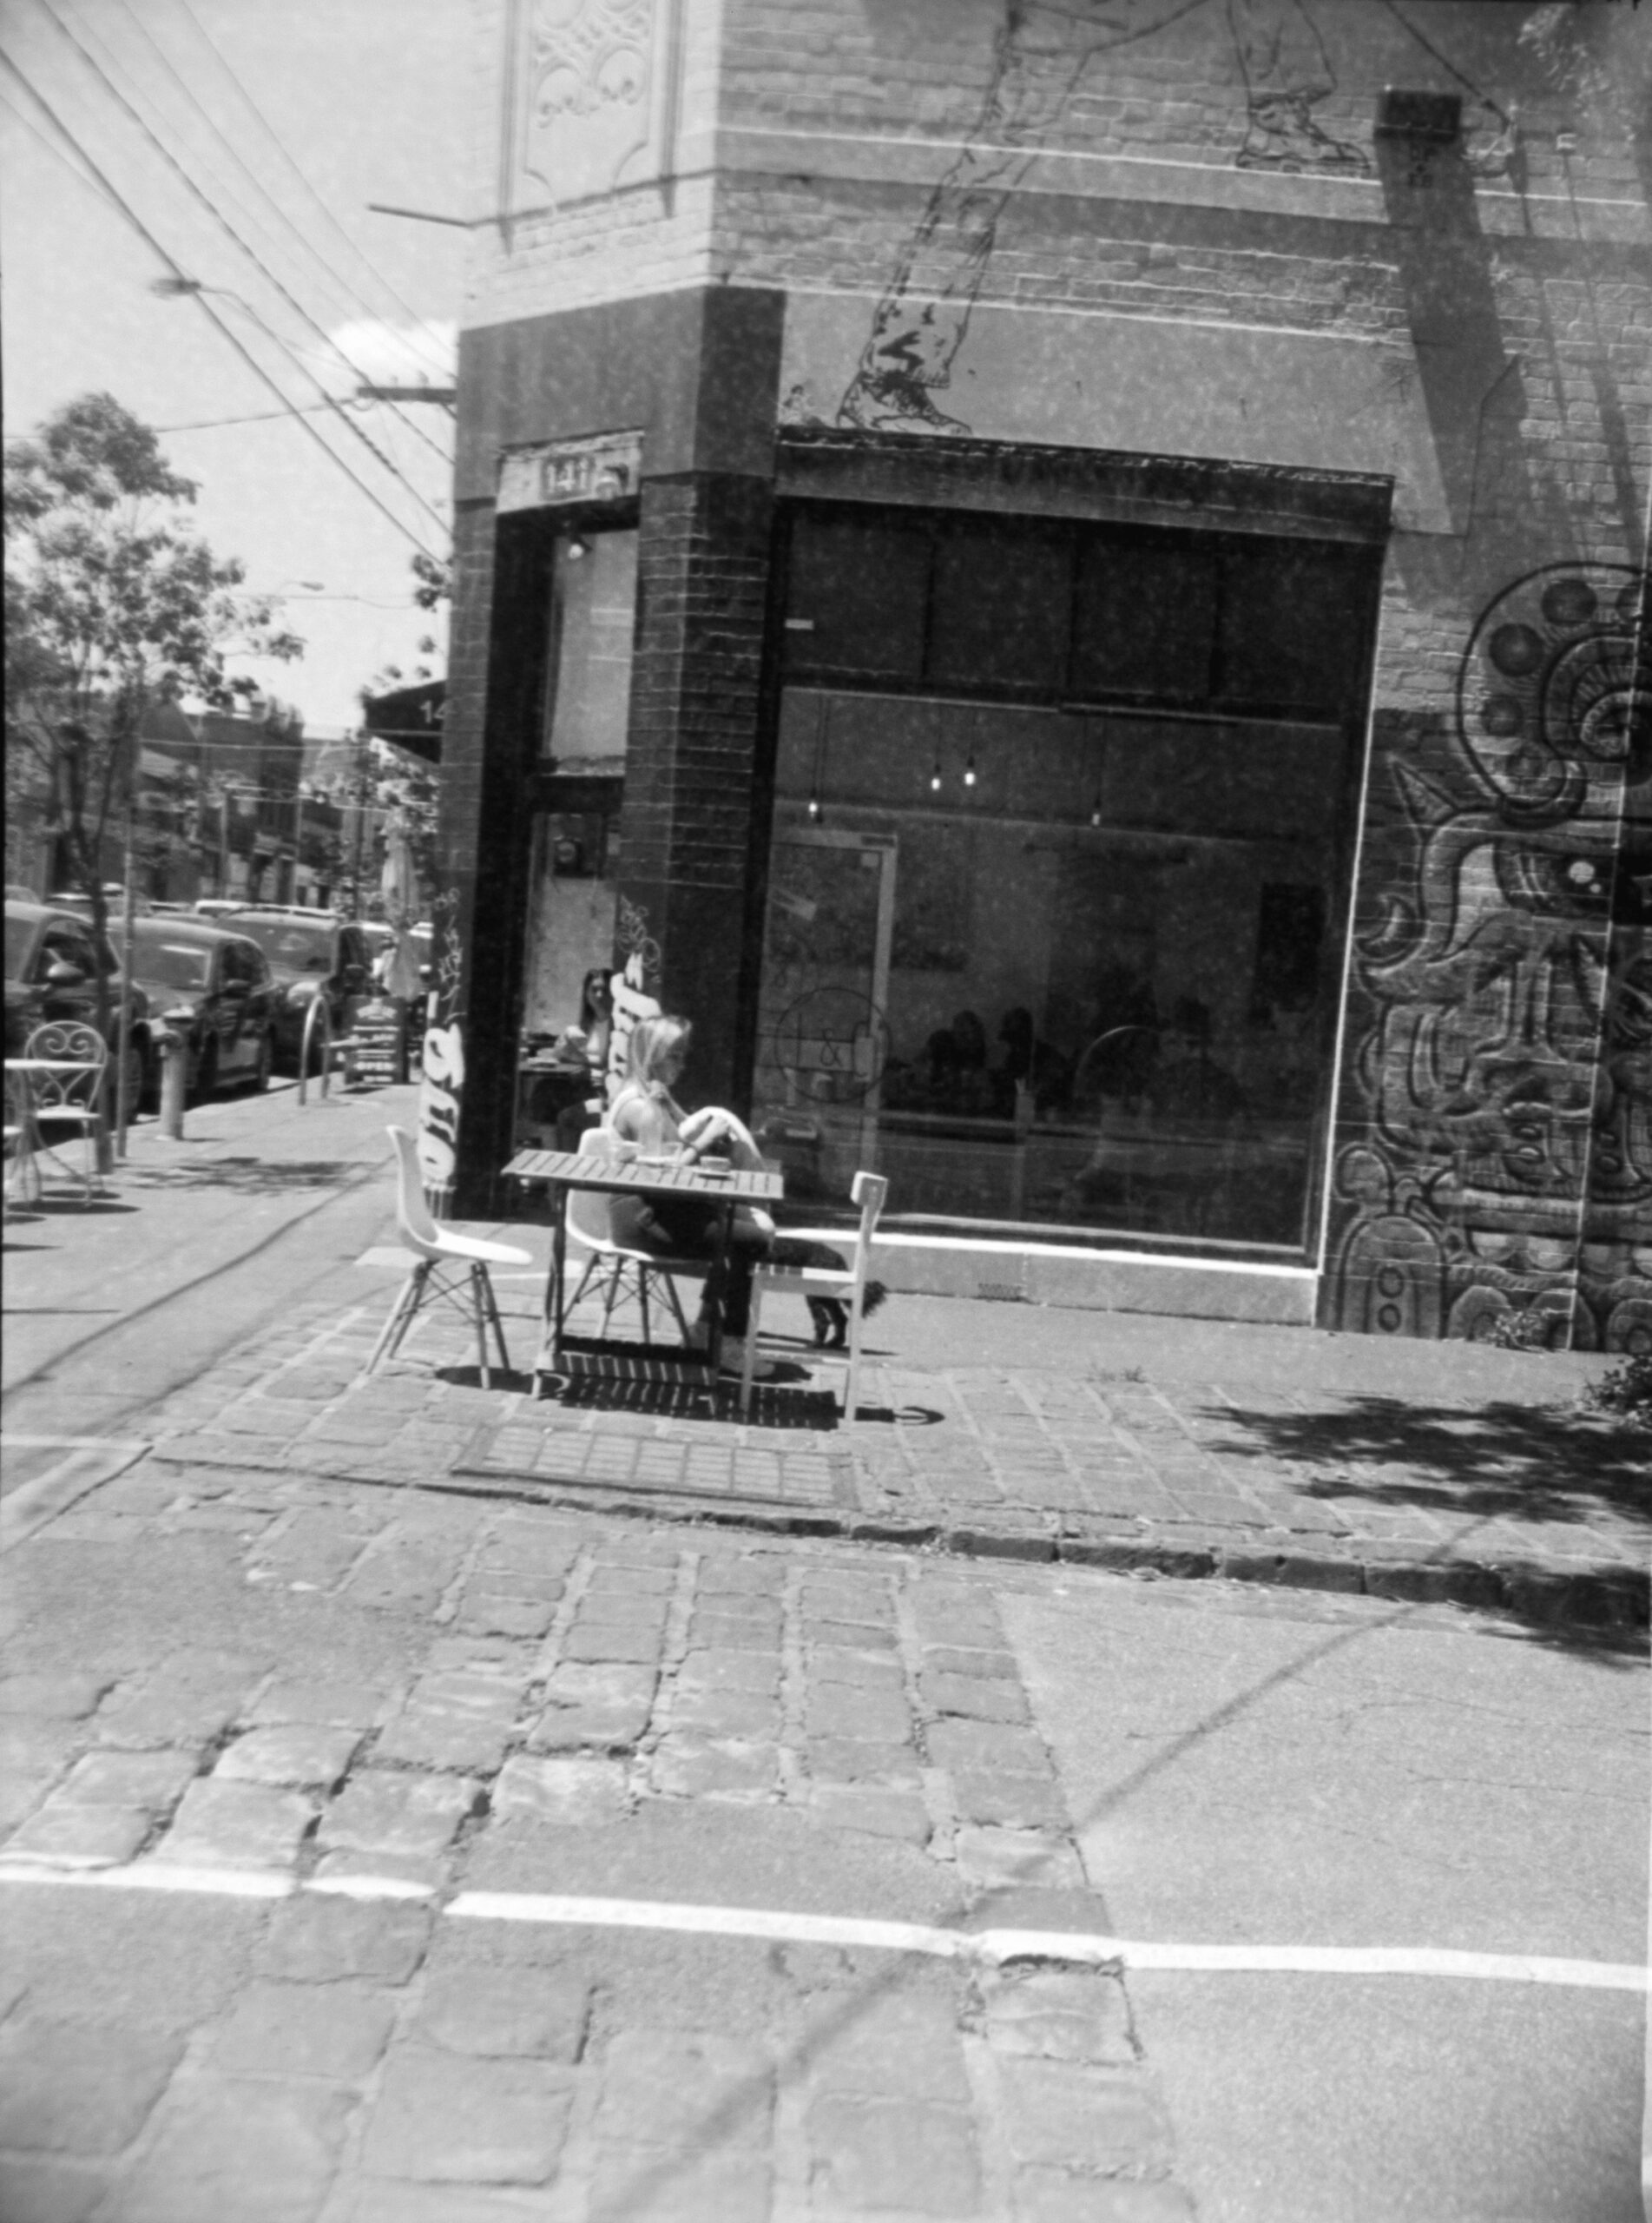

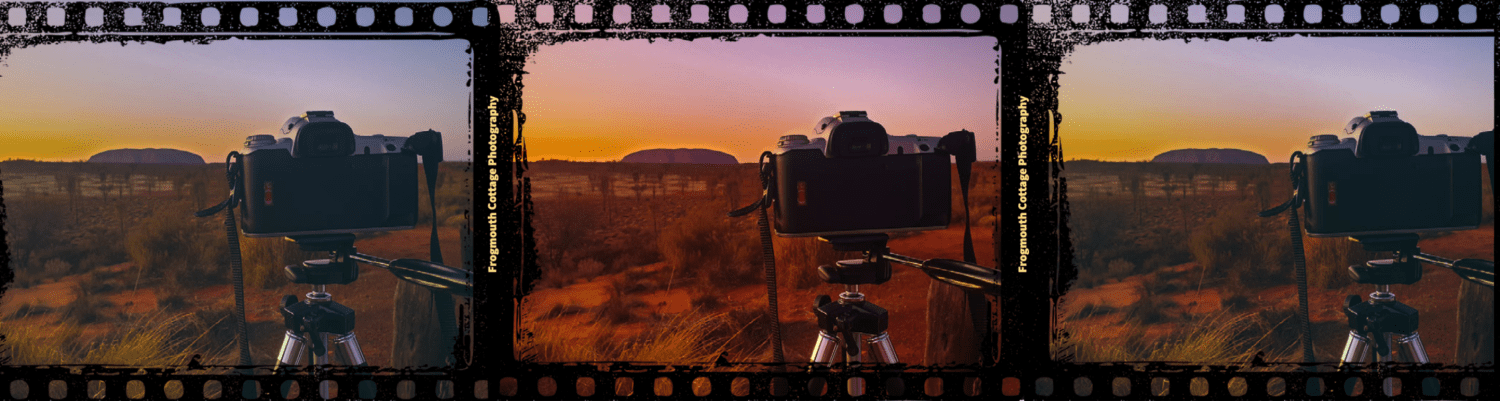
Developed at home in Ilford ID-11 (1+1), digitised using a DSLR, then converted using Negative Lab Pro.
Sources: