It’s the end of the year, so time to wrap up my 2025 goal. I’ll definitely keep printing in colour, but this will be the final “RA-4 Colour Diaries”post, for a while atleast. If you missed the earlier posts, you can access them here:
This post (part 4) is all about making prints of different sizes (enlarging, contact printing and printing 110 negatives) as well as speeding up my workflow and trying more film stocks.
Enlarging prints
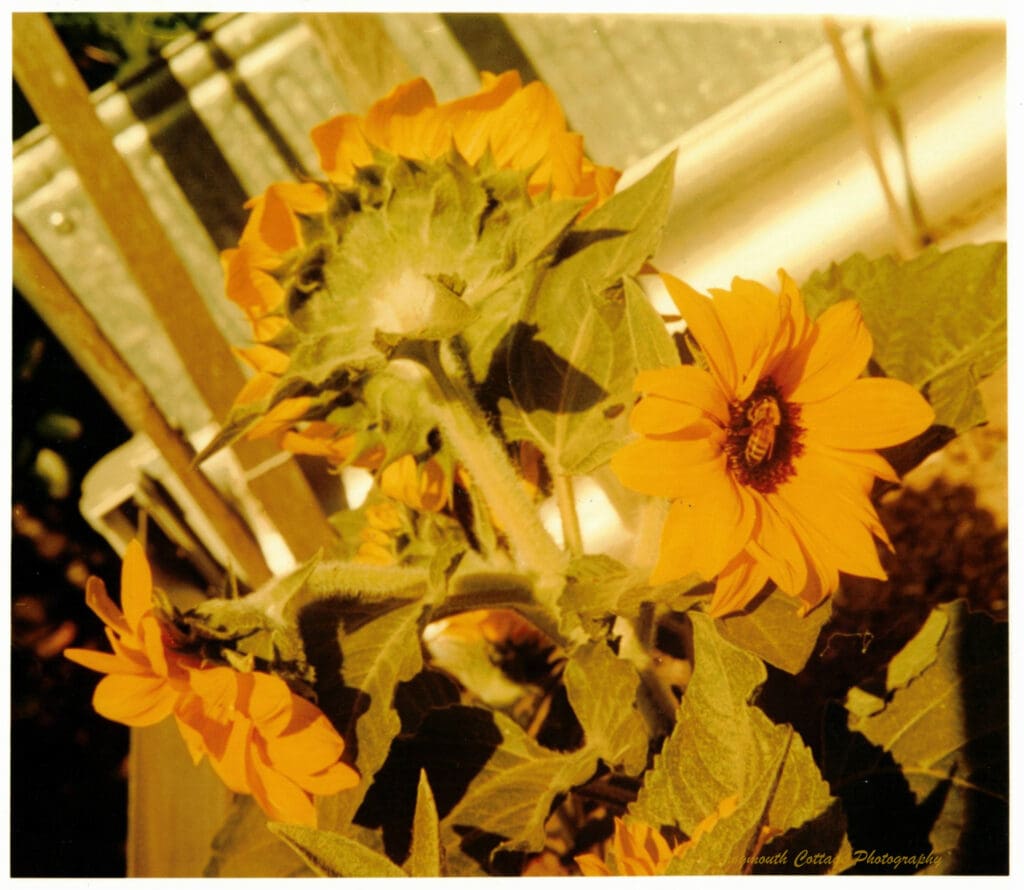
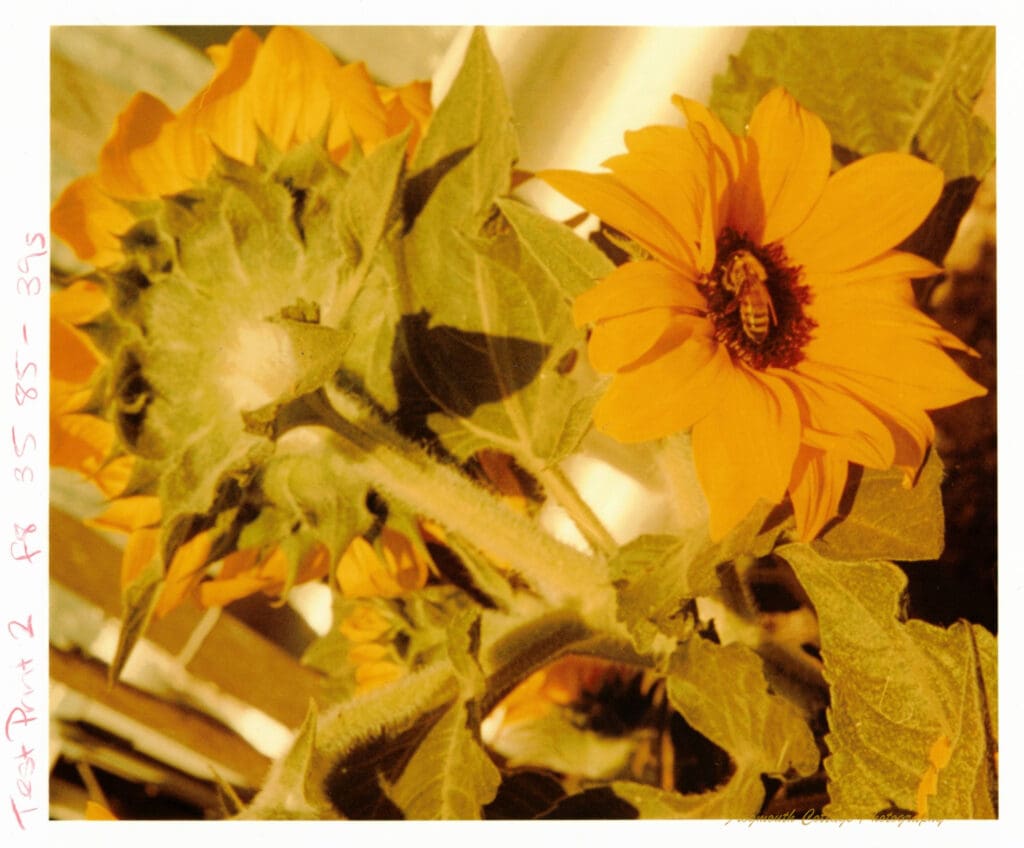
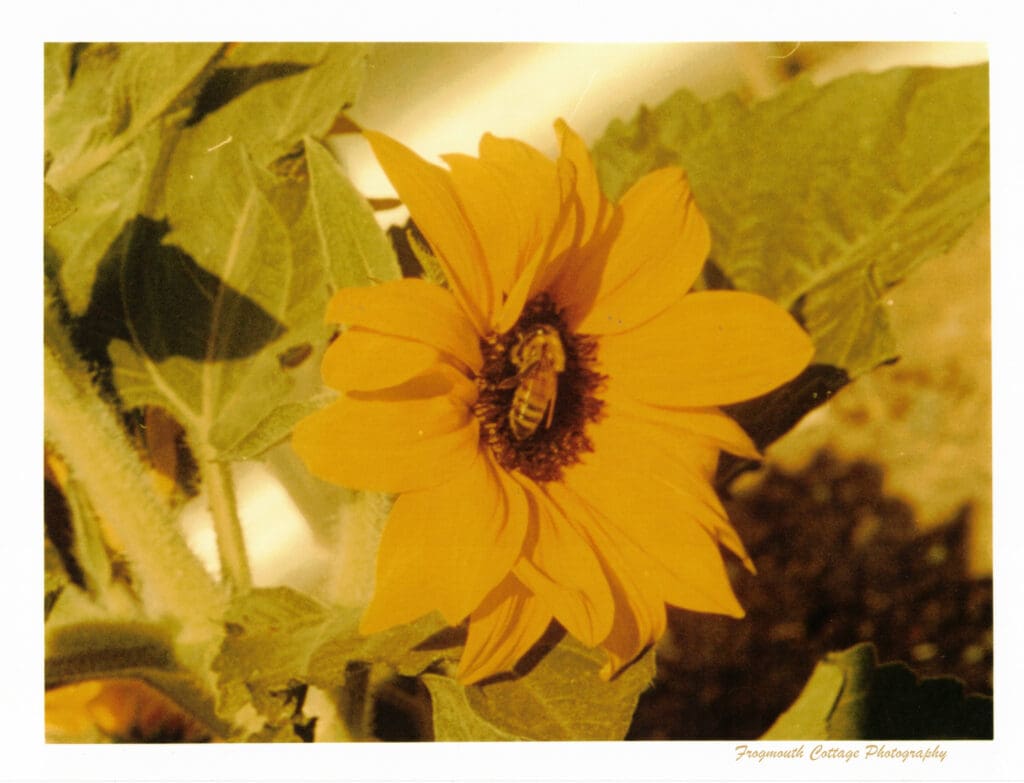
After the success of the sunflower print, I printed another sunflower from the same set of negatives. This time I was able to use the time and filter settings from the first print as a starting point, and it took me just three test prints (with just two filter tweaks) and only 3 hours (compared to 12) to get what would have been a final print if it wasn’t for dust and crooked paper. But my aim for this photo was to create an enlargement of the flower with the bee, so that was OK.
Despite having printed black and white for a long time, I had no idea that there was a formula that could be used to calculate the change in exposure time when enlarging a print. I had always restarted with an exposure test. I discovered this formula in my Durst colour printing book, another step in making my workflow easier and faster:
Enew = Eold x [(Mnew + 1)2 / (Mold + 1)2] M = magnification factor / height of the enlarger , E = exposure time
I put my enlarger up to it’s highest point, which meant standing on a ladder! This enlarger can be turned to print on a wall or the floor for even bigger enlargements, but I’m not ready to go there yet. At this point I’m still using 8″x10″ glossy paper. On my first attempt I didn’t have the composition quite right, but the colour and exposure were good. And of course there was dust! But again that was OK, as my final print was going to be on 6″x 8″matte paper.
Switching to the matte paper (from the same eBay supplier, Fuji digital paper) wasn’t as difficult as I thought it would be. I started with the same filter and exposure settings and only needed to add 5M and 5Y (plus 1 second) to get the colours right. This is also where I decided to tempt fate and develop two sheets of paper in my tank at the same time. The Patterson Thermo-Drum 1216 can process multiple sheets of paper together, without an increase in chemicals. It can hold one 12″x16″sheet, two 8″x10″ sheets, four 5″x7″ sheets or eight 4″x5″ sheets. Given my track record of paper sliding in the easel, I thought printing two sheets at a time would give me a better chance of getting a final print. After running through the process of using the baffles in the light, it was relatively easy to expose the print, put it in the tank, seal the tank, then repeat for the second print. I got one straight print, and 1 crooked print, so it worked!
Making Contact Sheets and Contact Prints
Making contact sheets and contact prints was the next thing I wanted to master. My first attempt to make a contact sheet was a bit of a disaster. My process with B&W negatives is to place the negatives in their protective sleeves on top of the paper then lay a piece of glass over the top. Very easy to do when you have some illumination from the red light. In complete darkness, not so easy, then try repeating it for the exposure test, filter test and final print. I made a complete mess of it. Time to invest in some Patterson Contact Printing frames. These were still a bit tricky, as the negatives would easily dislodge when I pushed the paper into the frame. My solution was to place a tiny piece of sticky tape on the edges of the negatives to hold them in place, making sure it only touched the borders not the image. The printing process is the same as for an enlargement, however the filter values for each image may be different, so it’s a judgement call to get as many images as possible with acceptable colour.
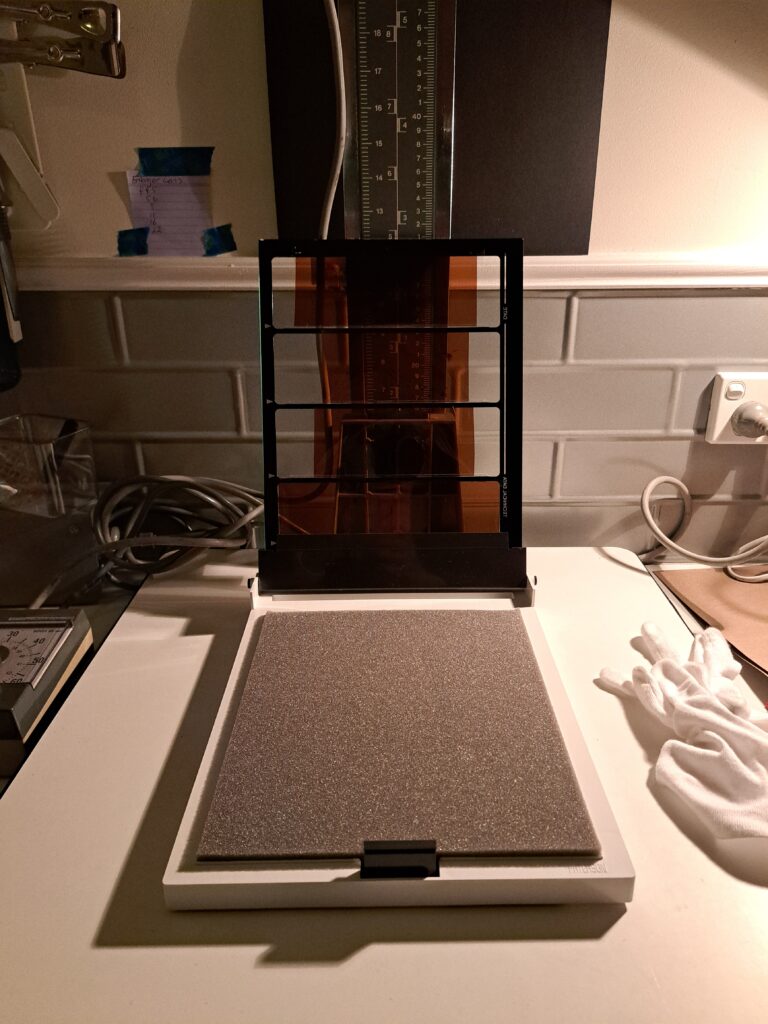
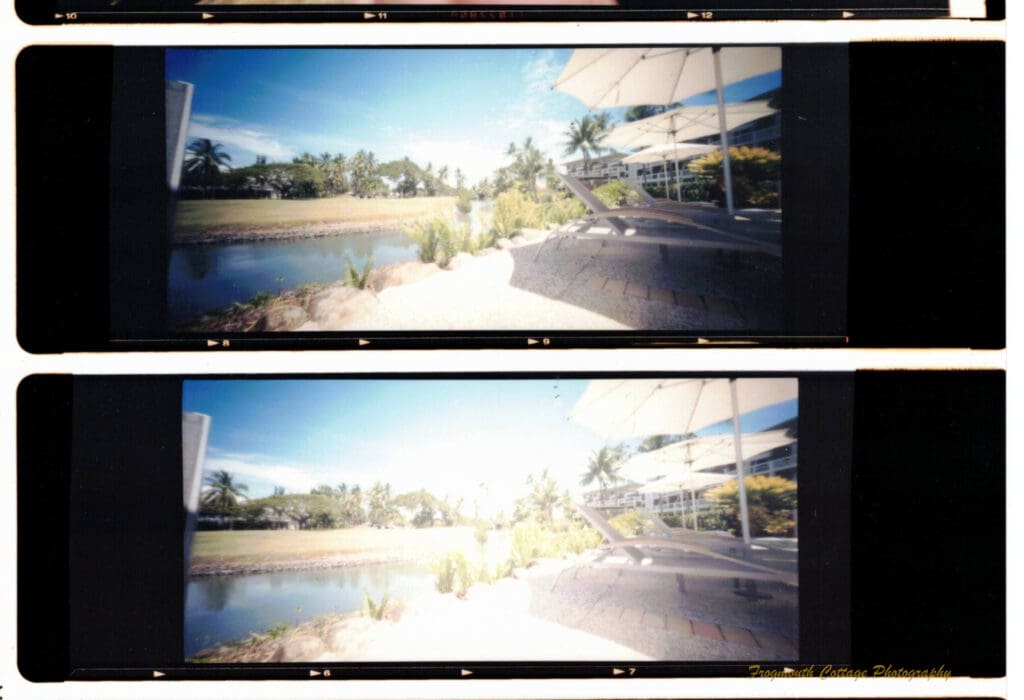
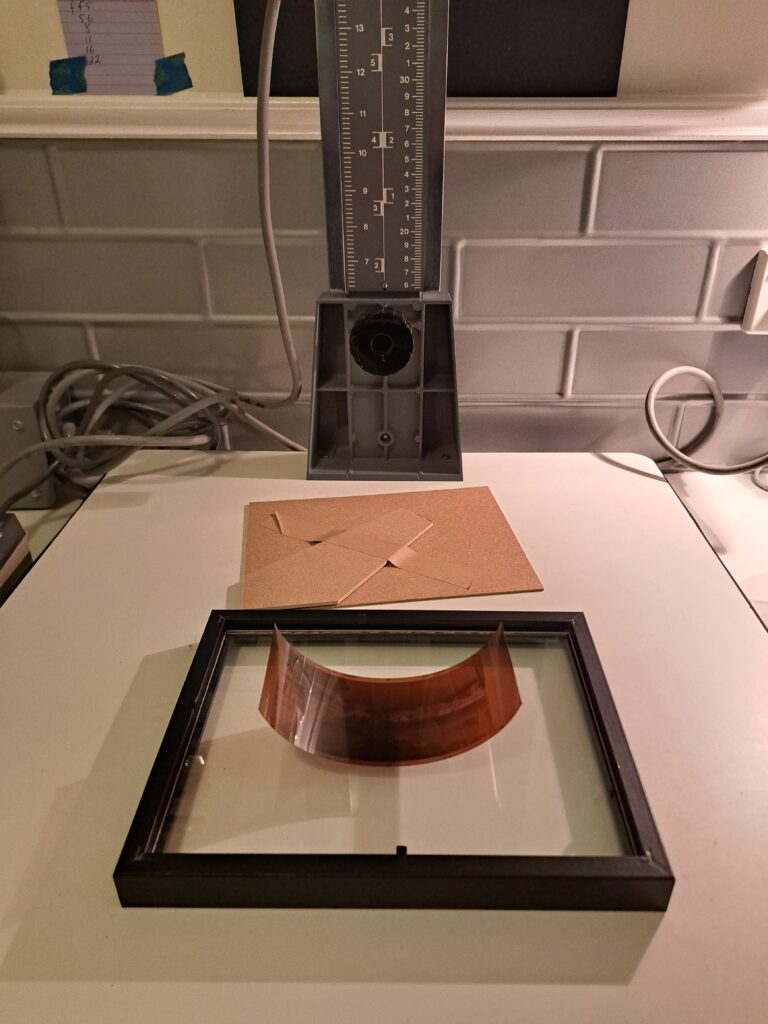
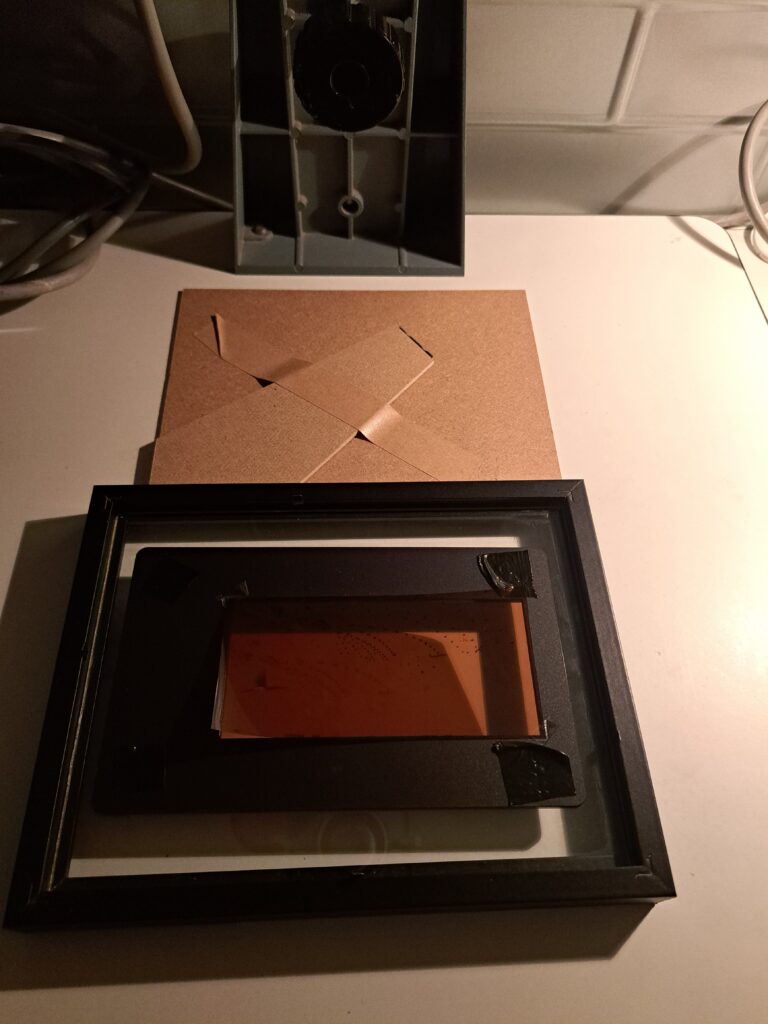
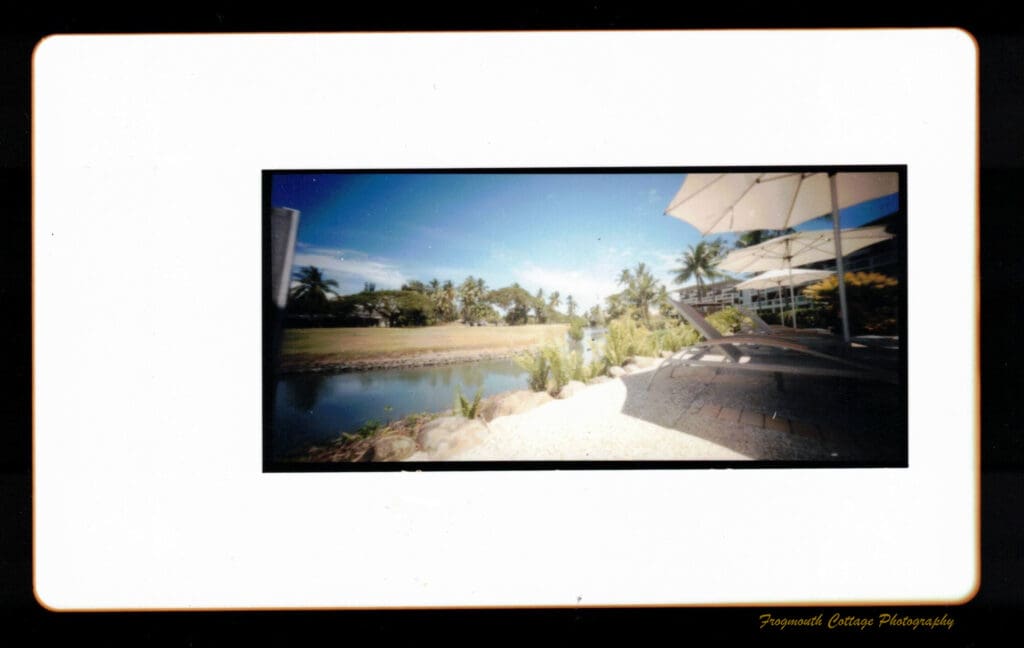
My first attempt was with some 6x12cm negatives taken on a Holga Wide Pinhole Camera, and the result was pretty satisfactory. My enlarger doesn’t take negatives larger than 6x6cm, so to get a single print of the 6x12cm negative I was going to have to make a contact print. Again, I needed to get a bit creative to manage this in the dark. I started with an old picture frame and used it with the glass side down and the negative placed on the glass. In the dark I would place the paper into the frame (6″x8″matte) then attach the back of the frame and flip it over ready for exposure. To remove the edge markings, I used my Essential Film Holder (EFH) 6x12cm mask (that I use for DSLR digitising), with some small pieces of tape to hold the negative to it. The mask is thin enough that I could still close the frame, and it creates a unique border effect.
Printing 110 Negatives
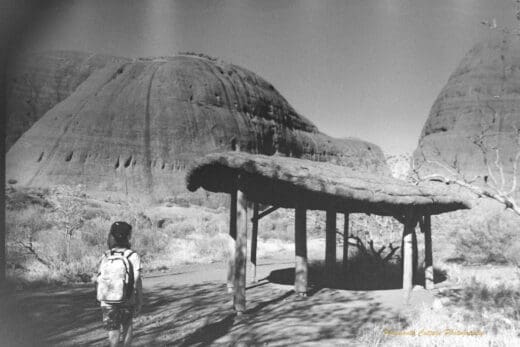
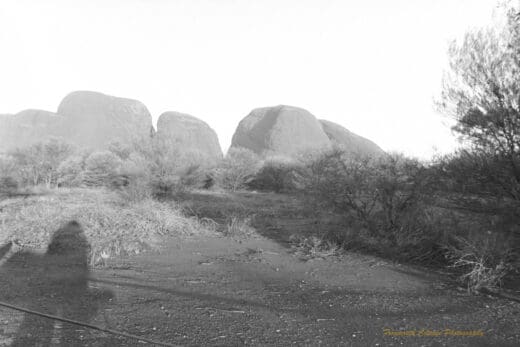
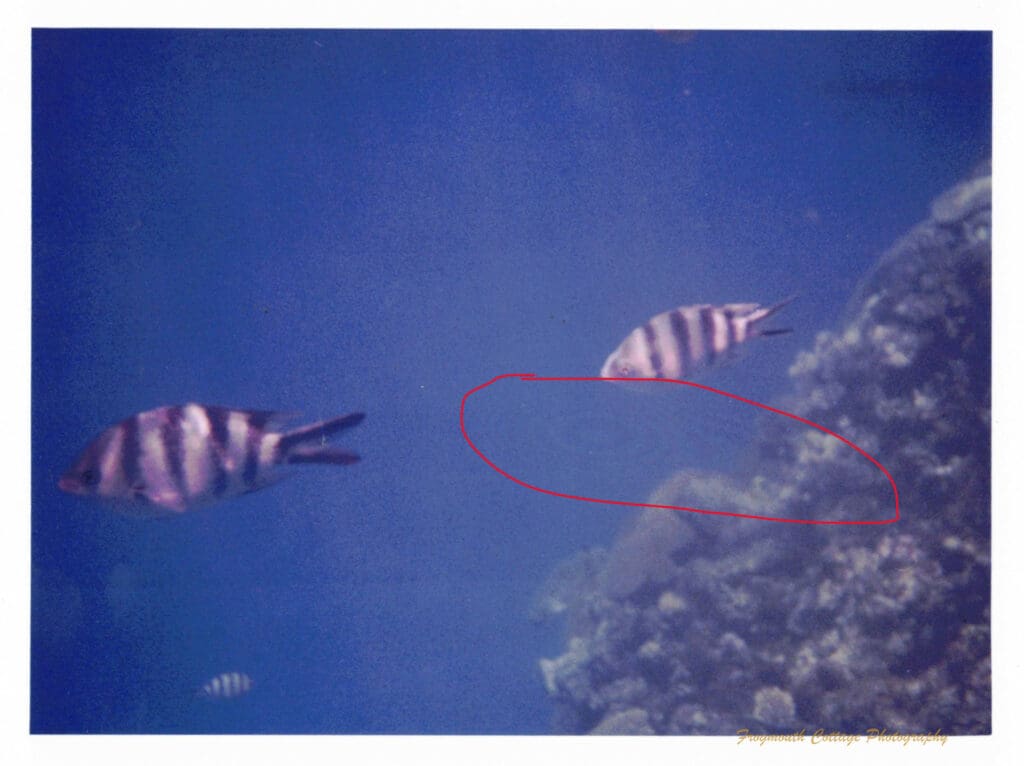
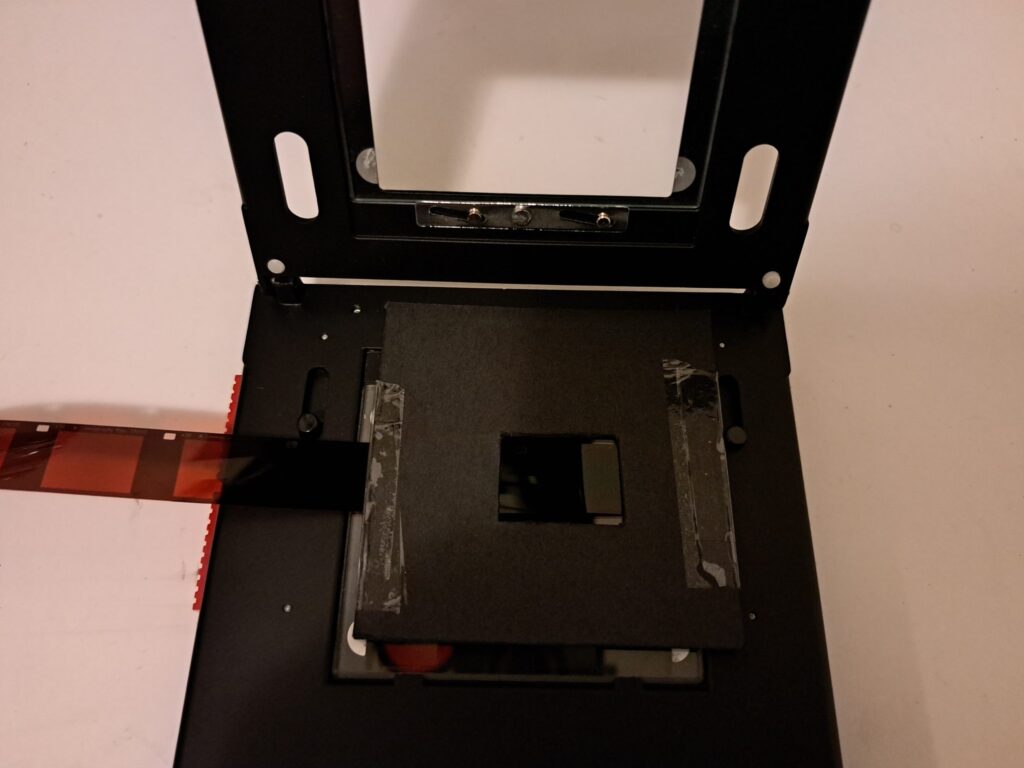
I’ve only recently started shooting 110 film, so I’ve never had to try printing from negatives smaller than 110 in the darkroom. I do have a small enlarger to do this for B&W, but the Durst is my only colour enlarger. I had some underwater photos from Fiji that I shot with a Minolta Weathermatic A, on Lomography Tiger CN film, that I wanted to print. The first print I spent hours on. It wasn’t the exposure or filters that were the problem, it was marks on the image that I couldn’t work out the source of. I thought it was to do with the chemicals. When I took a break for the day, it came to be that they were newton rings. I worked out that there wasn’t enough pressure on the smaller negative between the glass plates in the negative carrier. I would need a mask for this as well. I don’t yet have the 110 EFH mask, but for digitising I use a piece of black card with a small rectangle cut out, so I tried this method on the enlarger. The card was placed over the top of the negative and was thin enough that it didn’t effect the closure of the negative carrier. And it worked – no more Newton rings!
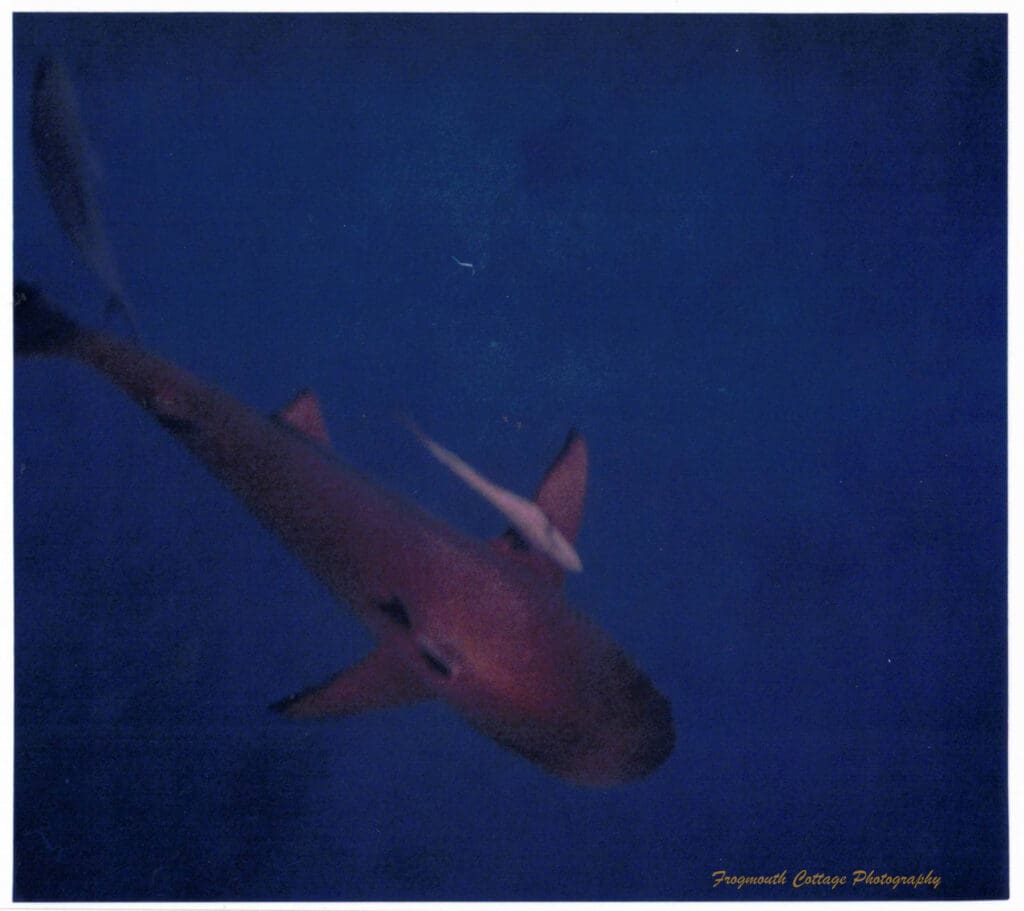
For my final 110 print I enlarged the image to the maximum vertical height on the enlarger to see how far I could push an enlargement. In this scan the image looks less sharp, but the print held up really well for such a tiny negative taken underwater.
I still don’t have a good final print of any of the images I’ve printed – dust, newton rings and slipping paper are still my nemisis, but I’ve learnt a lot this year and I really enjoy the challenge of colour printing. I will get those final prints next year, and keep building on my knowledge and craftmanship. When I learn something new I’ll post again.
Until then, happy printing!