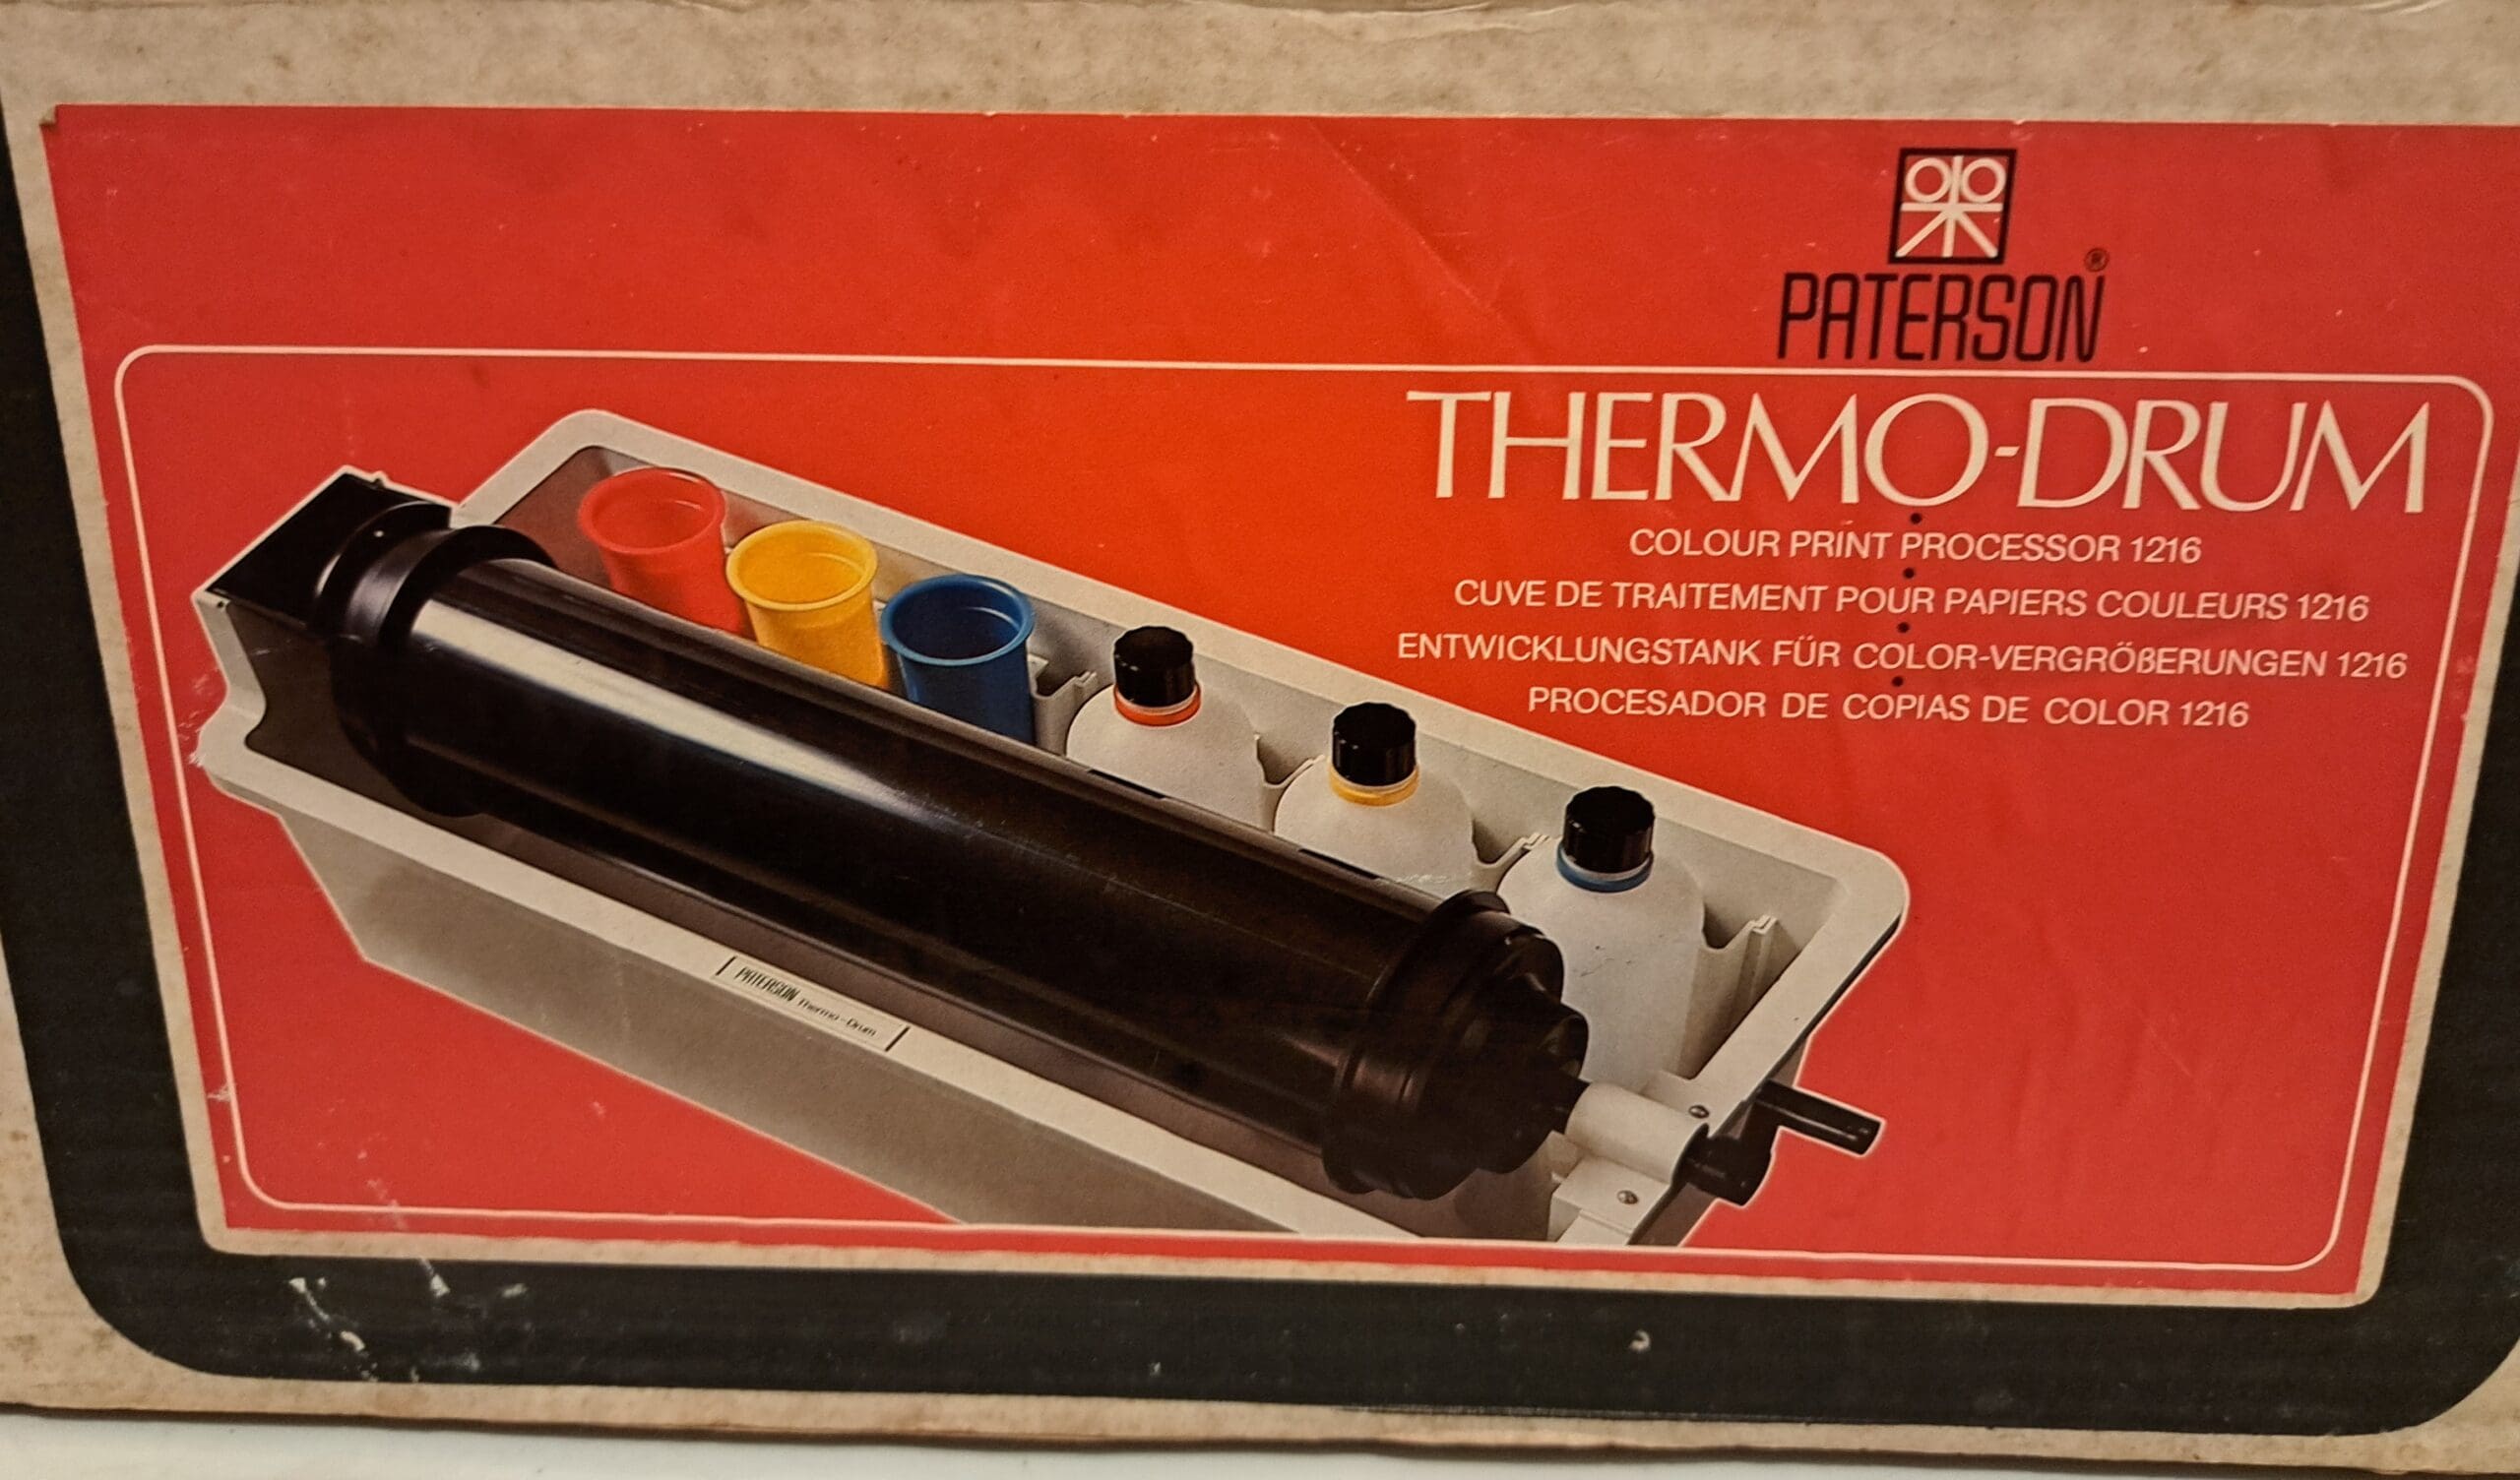
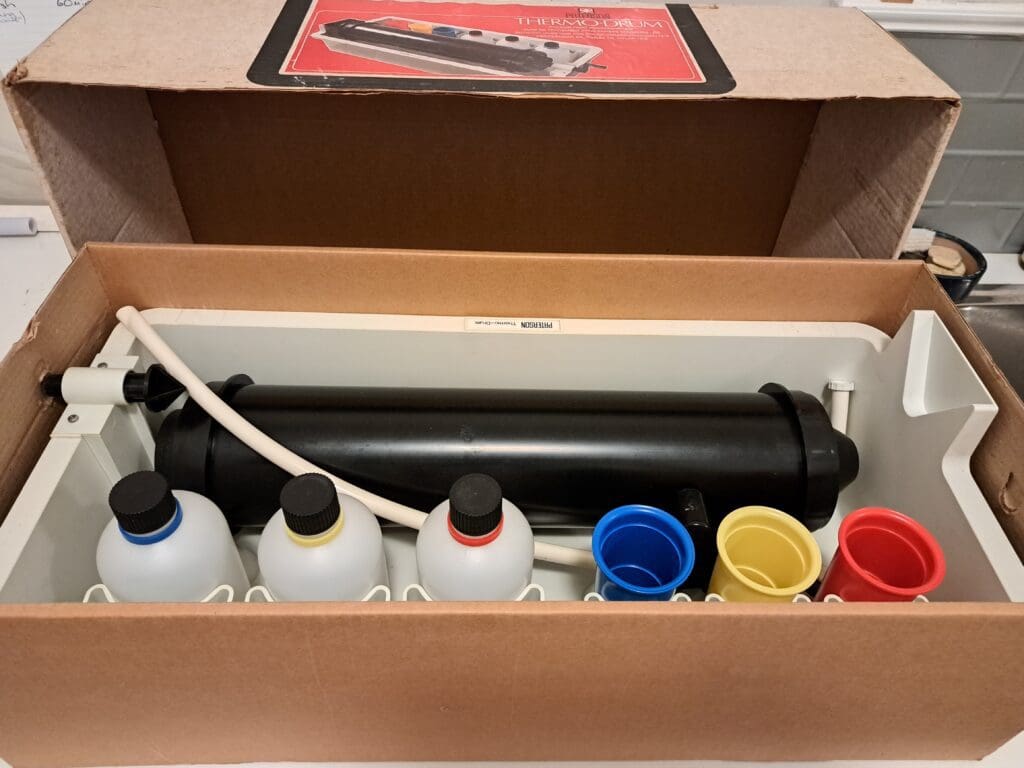
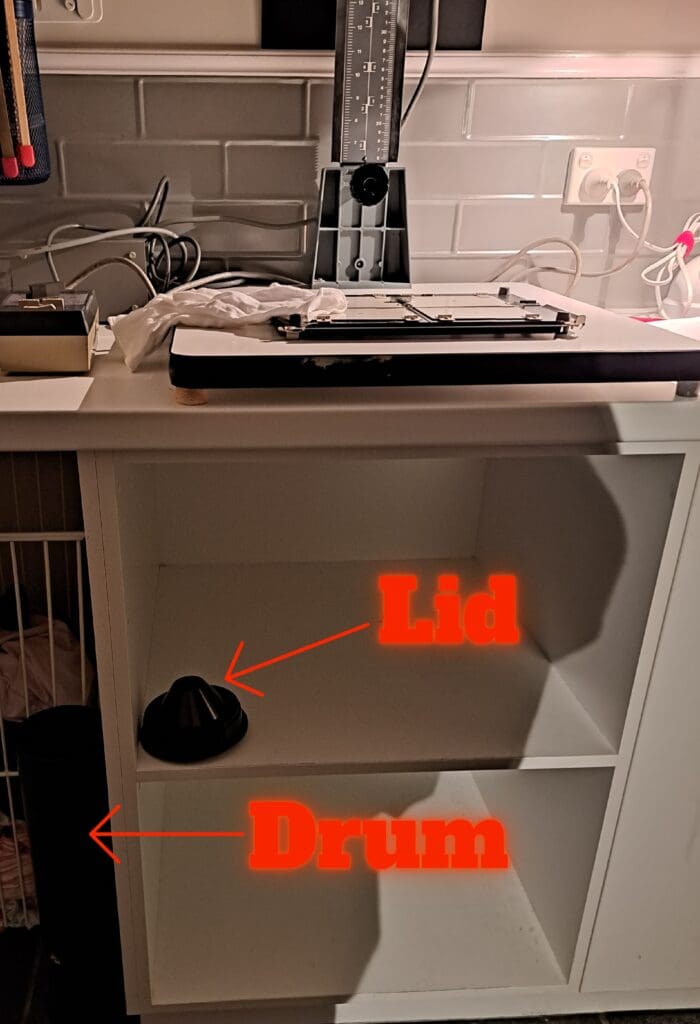
My goal for 2025 was to teach myself to make colour optical prints in the darkroom, a goal that actually started in 2020 after I read an article on the Emulsive website about RA-4 printing. I already had a Durst M601 enlarger with a colour head that I’d never used, so I didn’t need much more to try it myself. Having not much else to do, I checked our ebay for a paper drum. I found a Patterson Thermo-Drum 1216 in the UK for a reasonable price (shipping hadn’t yet gone through the roof) and ordered it.
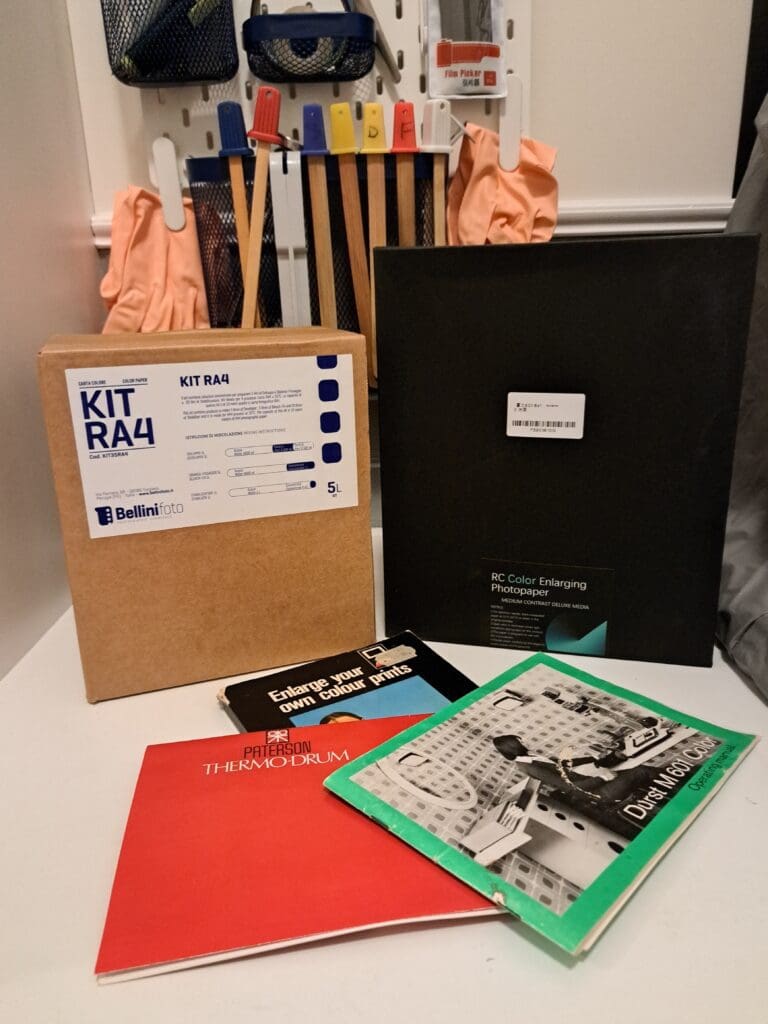
Unfortunately, once it arrived, I then couldn’t find the chemicals or paper I needed for RA-4 printing (supply chain issues – IYKYK!). Fast-forward to 2024 and I finally had the Bellini RA-4 kit and some unbranded RA-4 paper (branded Fuji on the back) from ebay in my hands. In the intervening years, I did more research on blogs, YouTube and books and articles from back in the day.
I really wanted to be able to learn to do this properly so I needed to focus on just colour printing and maximise my darkroom time for colour only, so I’ve paused B&W printing for this year and have been sending my colour films to the lab rather than developing at home. I really want this to stick in my muscle memory, so next year I can start to alternate.
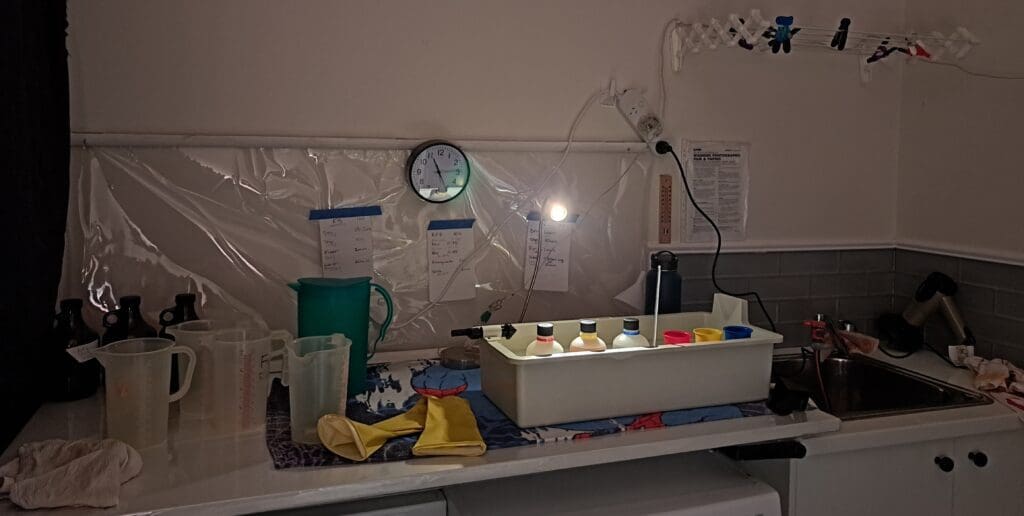
I have a semi-permanent darkroom set up in my laundry at home which was really invaluable. RA4 printing requires complete darkness from when the paper is removed from the box to when it is loaded into the tank and the tank sealed. It’s actually not a very long time, but the first time is quite disconcerting. It really helped to be able to “see” in my mind exactly where everything on my enlarger bench was and find it by touch. I also placed a desk lamp next to the enlarger so that I could turn the light on and off without moving, as the main light switch is several steps away. This meant I could place the drum under the bench by my leg, and the lid in the space directly below the enlarger without worrying about knocking it over. I did figure out early on that a couple of pieces of blu-tack between the easel and the enlarger base board would save a lot of angst in the long run. Knocking the easel out of alignment is so easy to do.

With my dry-side sorted I only needed to set up the Thermo-Drum on the wet-side and sort out my chemicals. The Bellini kit is quite simple to use. It’s a four-step process – developer, blix, rinse and stabiliser. A 5 litre kit seems like a lot, but it can be made up in smaller batches. So I made up 1 litre of each of the chemicals. The capacity of the kit is given as 10 square meters (approx. 107 square feet) of RA4 photographic paper, which I worked out to be 194 sheets of 10×8 paper. This means I can get 39 sheets from 1 litre of developer and blix. The stabiliser needs changing after 20 sheets per litre, but the kit makes 20 litres. These chemicals do smell, worse than B&W, so good ventilation is definitely required. I store my made up chemicals in 1 litre brown glass jars I purchased from a home brewing store.
The Paterson Thermo-Drum 1216 can develop papers up to 12 x 16 inches (30 x 40 cm), and multiple sheets of smaller paper sizes by using internal baffles. It only requires 150ml of chemicals per use, regardless of the number of sheets inside it. The drum sits inside a water bath, which has holders for developer, blix and stabiliser bottles, and measuring cups for decanting the 150ml when ready to process. This is a hand-rotated model, so my arms get a good workout!
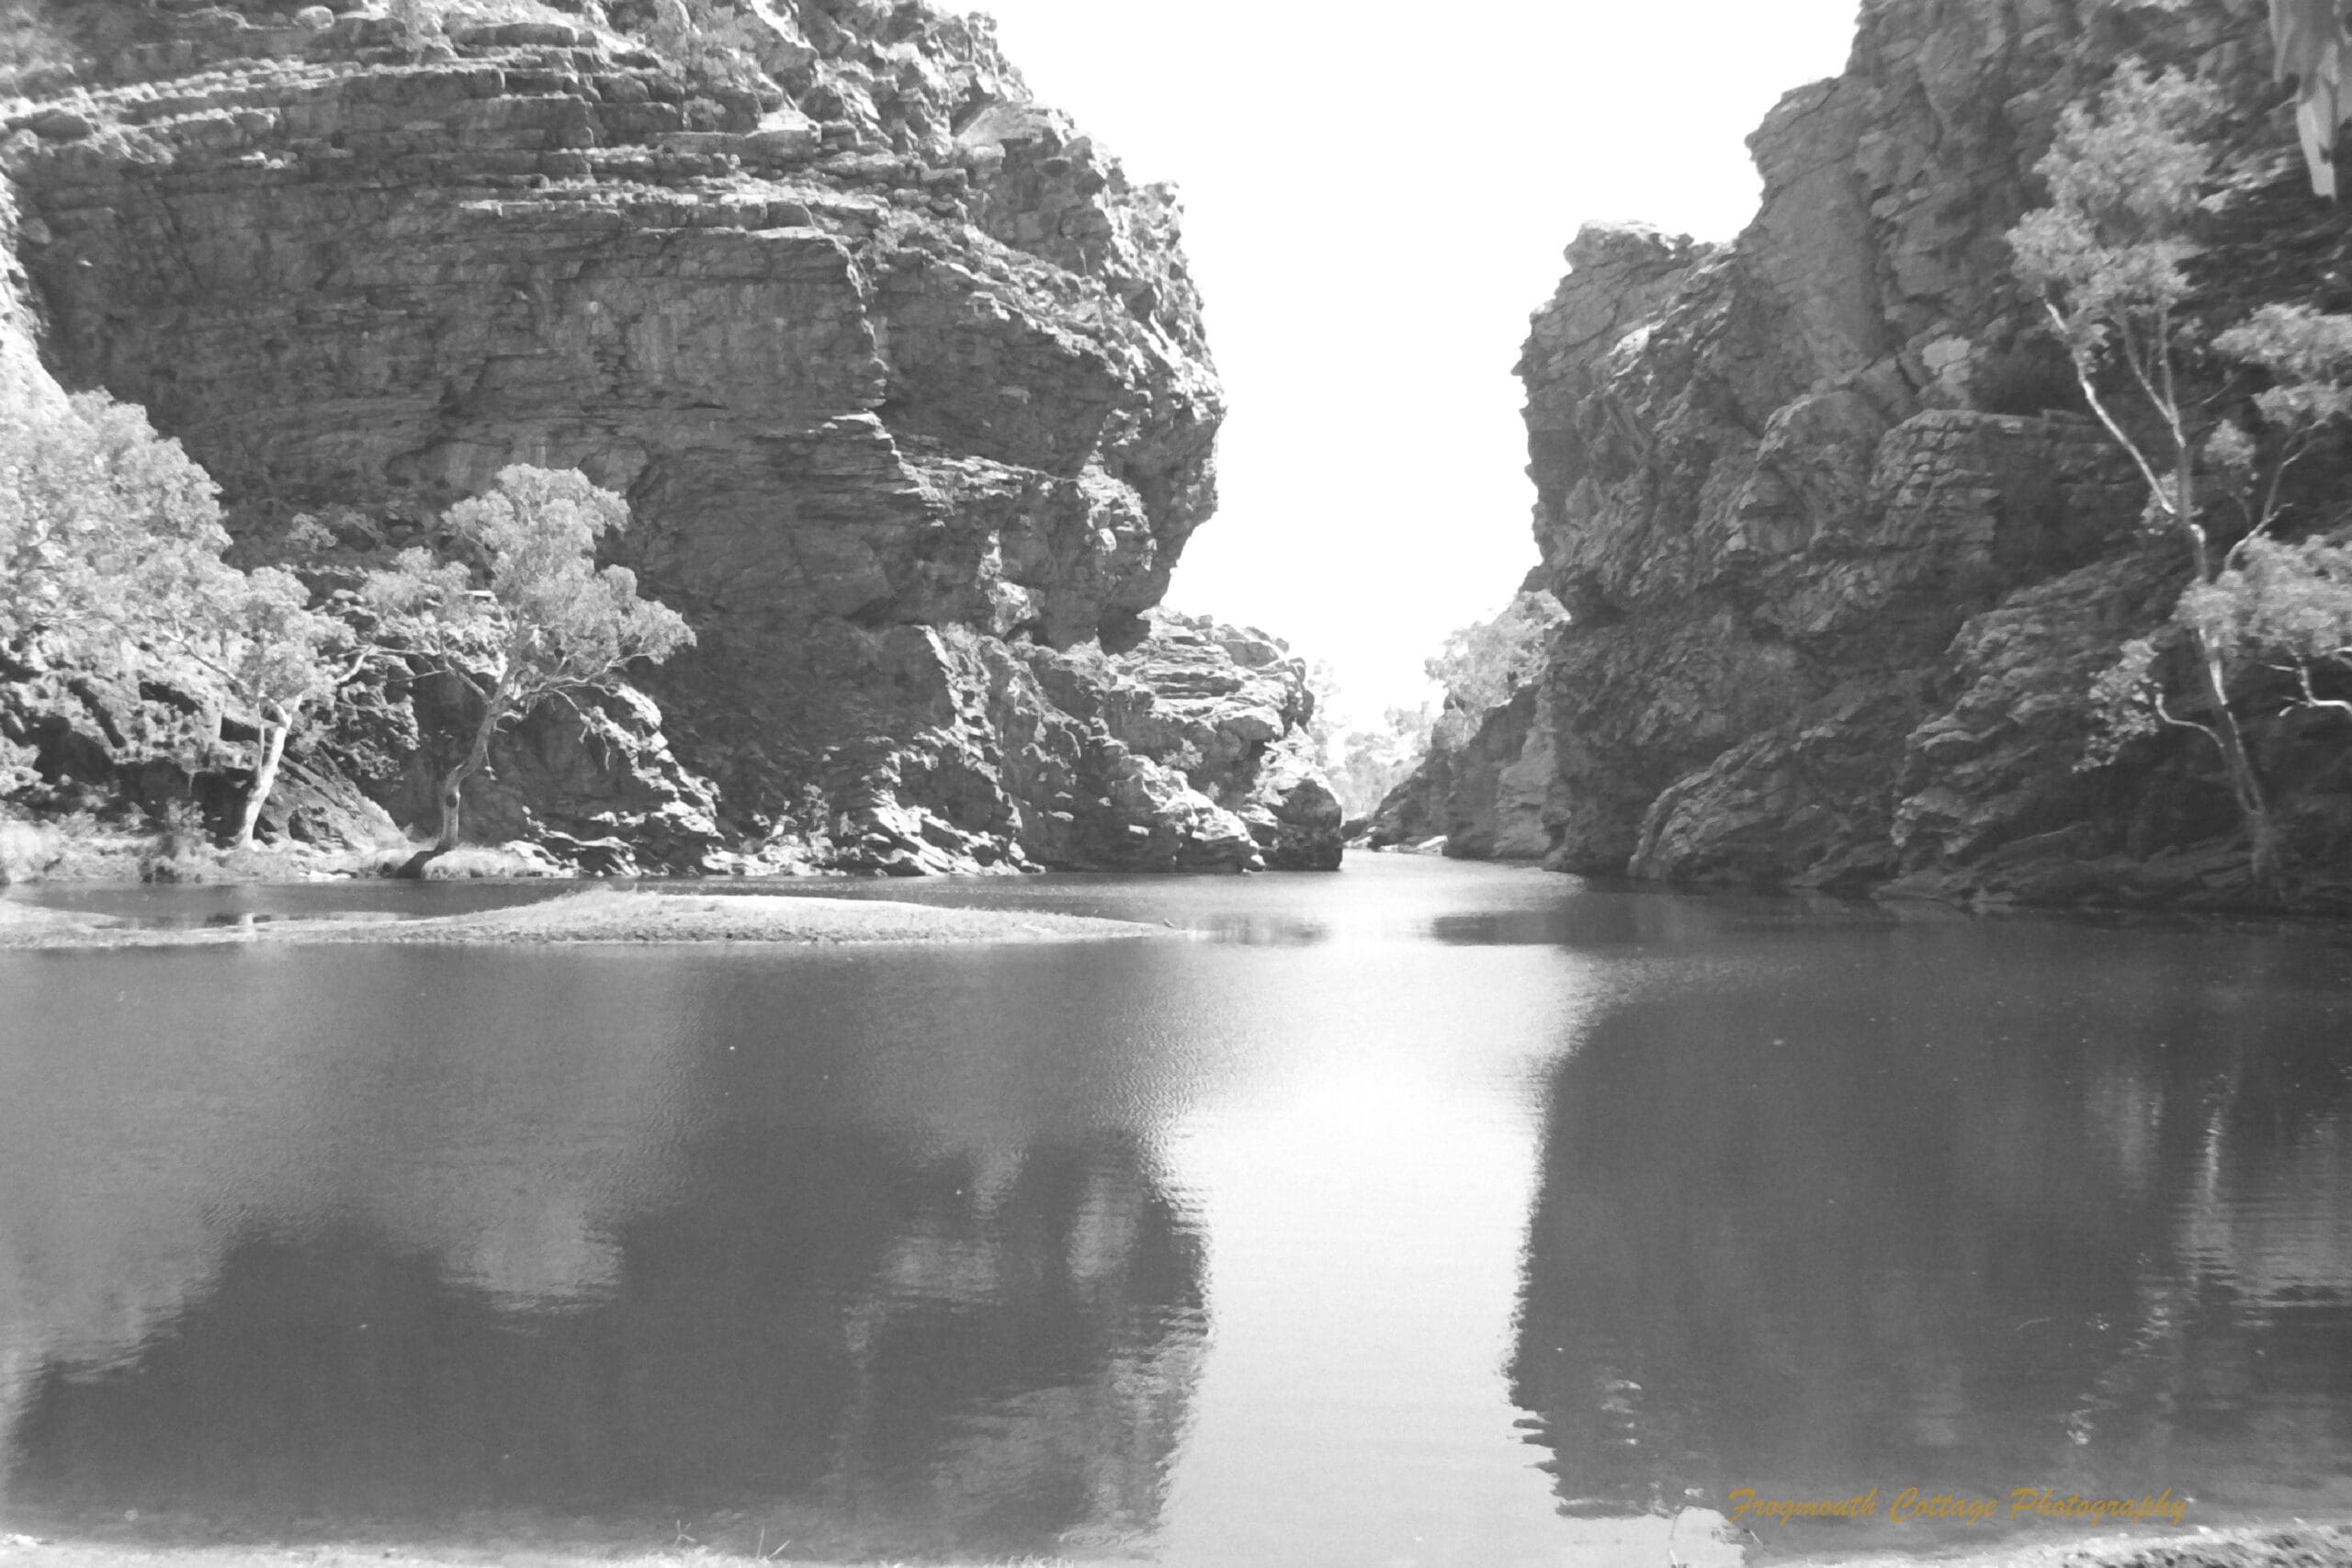
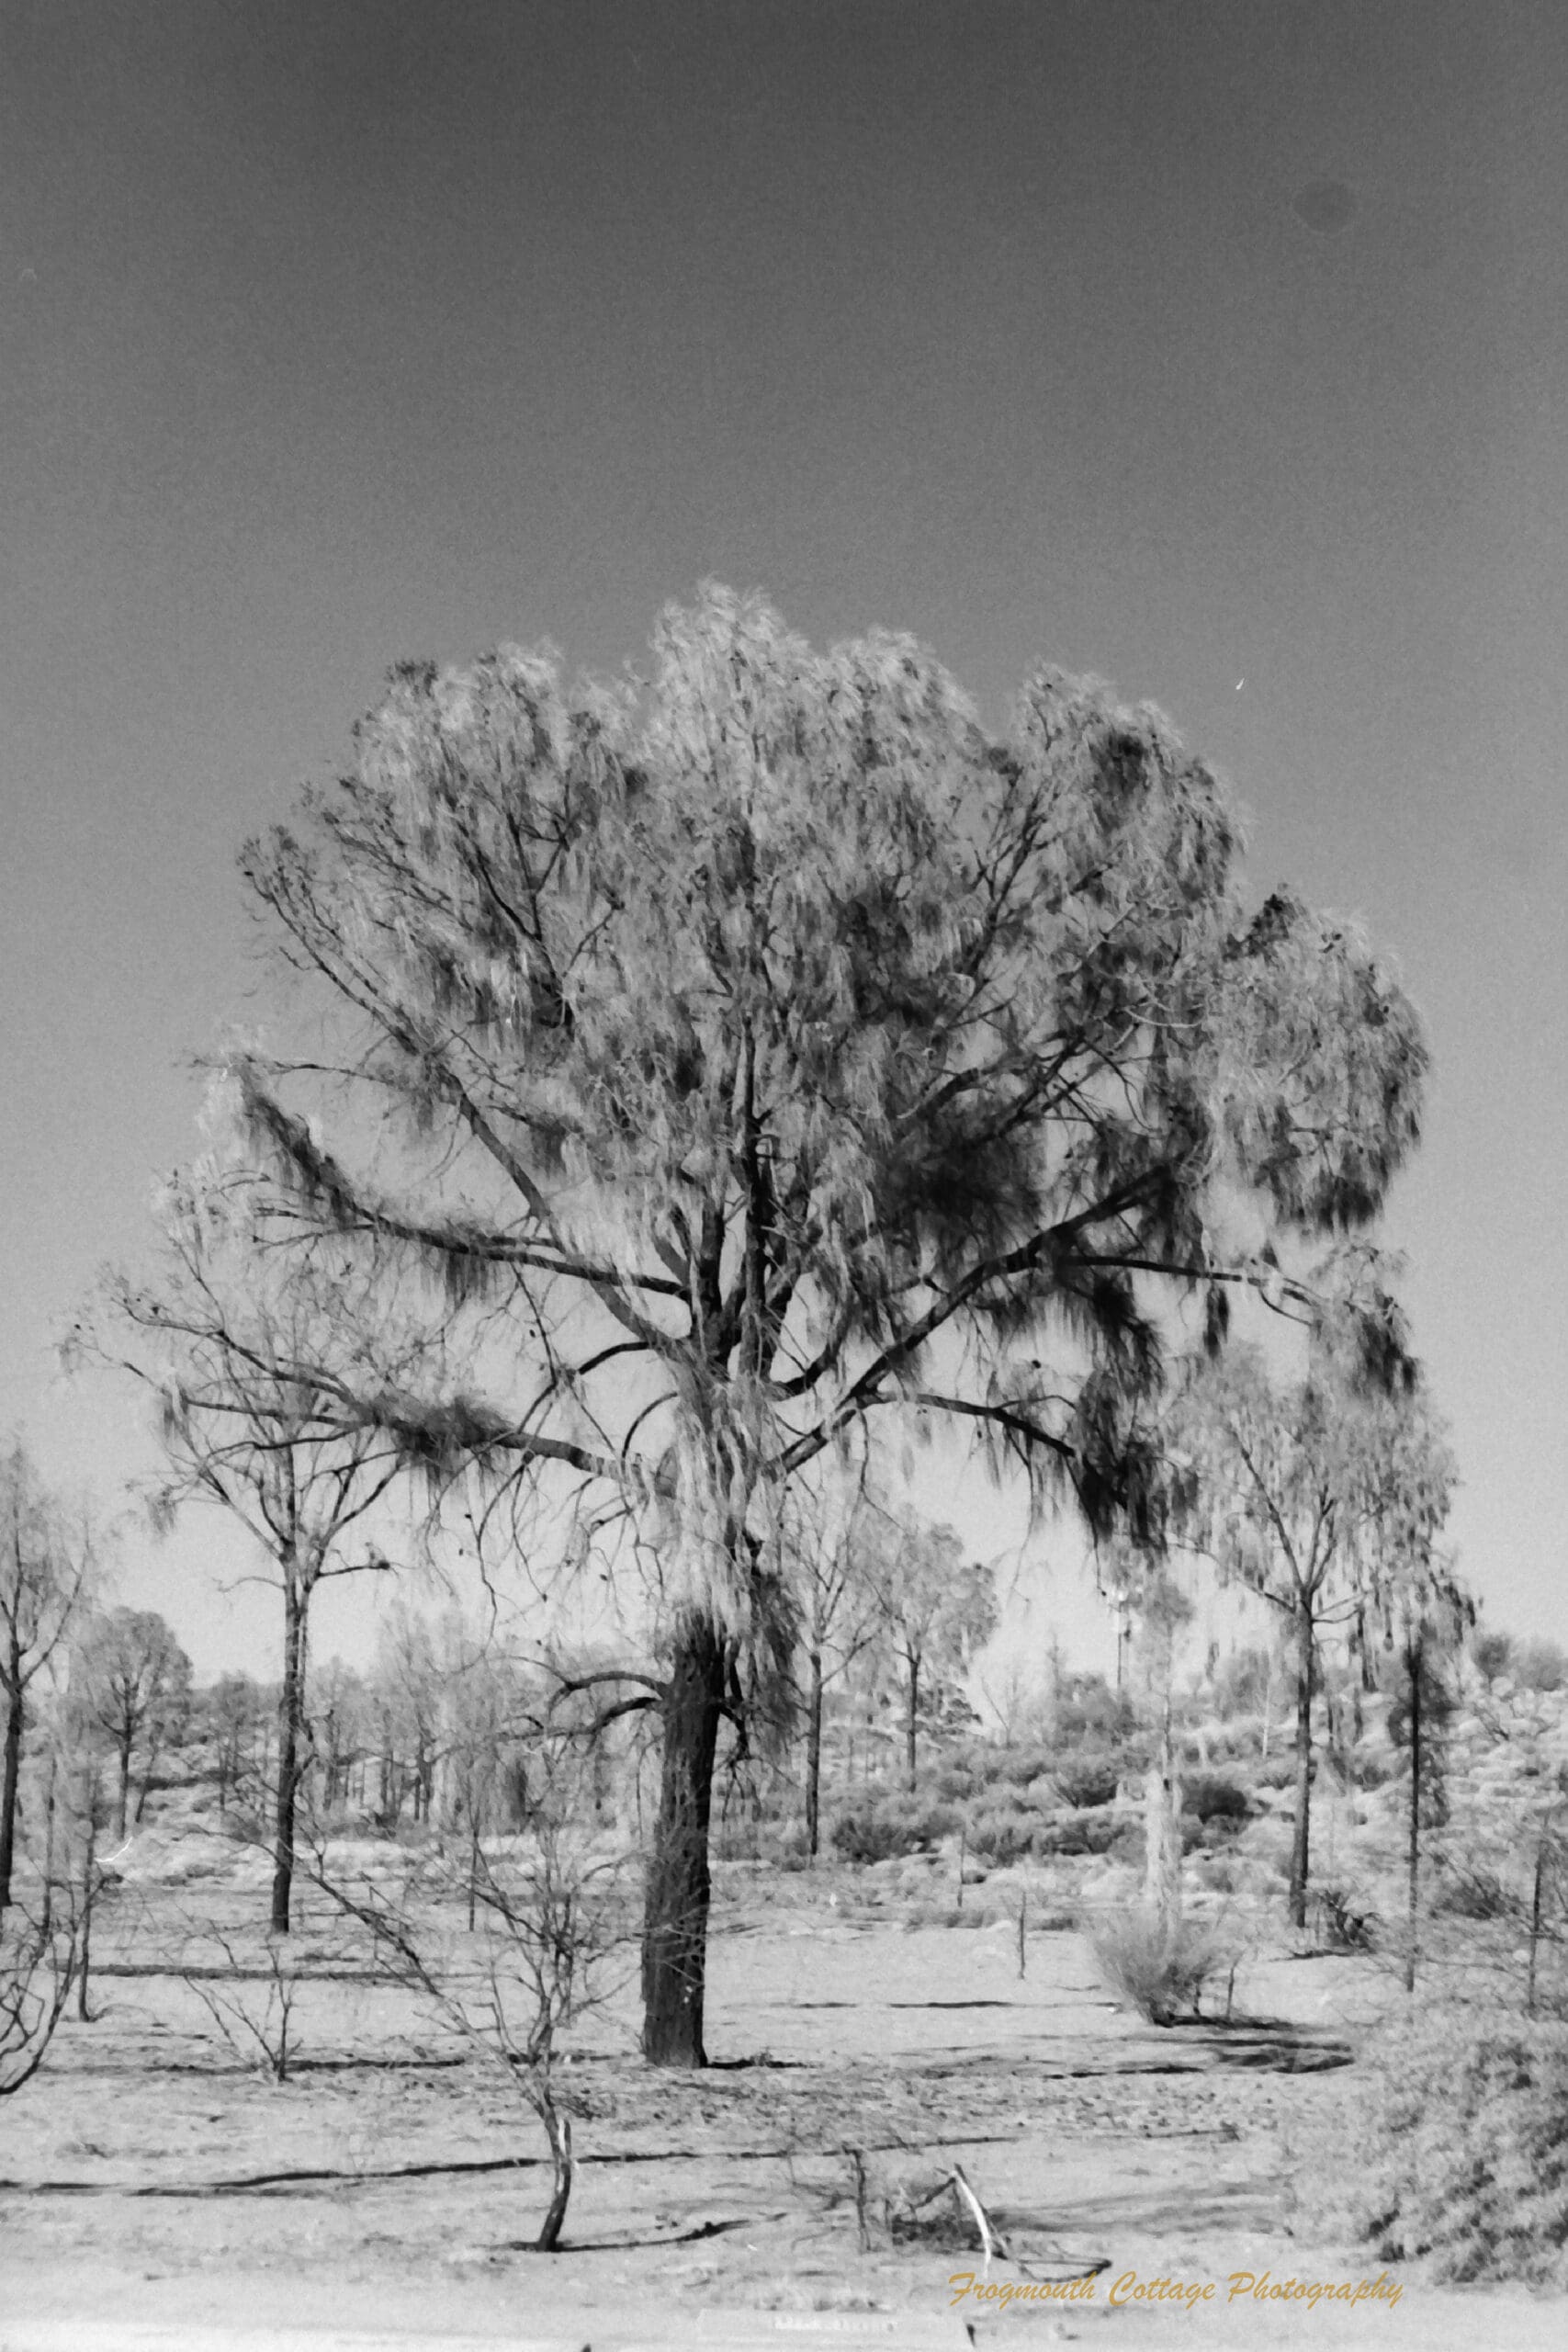
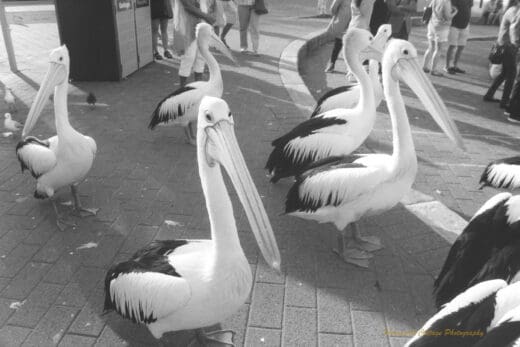
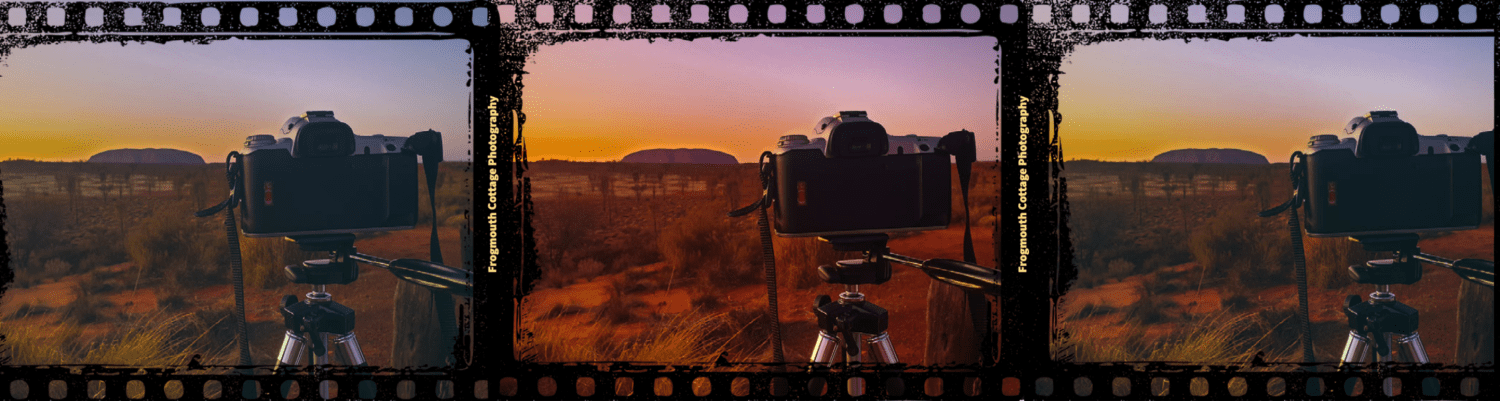
So now I’m ready to go. I chose a negative with lots of colour, as well as whites and blacks. I also used one that I’d had lab developed, to eliminate improper negative development as a source of problems.

So how did I go? Stayed tuned for part two of the RA-4 Colour Diaries!